

Jul 4, 2018

Jul 2, 2018
Vacation Day = Project Time! Keeping Chickens Cool in The Heat

Vacation Day = Project Time!
Shelf Wood Finishing- One of the projects I wanted to do today was finishing our corner hall unit that Dave built DIY Floating Corner Shelves. I looked around for quite a few ideas about finishing the shelves, but decided to live with them as-is until summer. Using any kind of paint or varnish etc., would have really smelled up the house in the winter. I thought about paint, stain and wasn't sure if we wanted to keep them light or dark. Both Dave and I really like the natural wood look and so I found Watco Danish Oil which is a one-step finish. Got it at a big box store for about $10.00. It's oil-based product that protects the wood and is very easy to apply-


bare wood
Put on first coat, 'flooding the wood' per directions-


1st coat
Next let sit 20 minutes, then did a 2nd coat-


Why I call this a project


Making Curtido is really worth it, since it lasts for several months in your fridge once it ferments. It is really great for your tummy, tons of probiotics. You can ferment for several months, but I wait about 10-14 days, and great as is. I'm sure it would have a deeper flavor if you went longer. The flavor is really amazing, not just spicy, but very aromatic as well. I will ferment some pickles this summer once I find some pickling cucumbers locally. I have a good fermenting jar that I use and it works perfect for these applications simple and easy. Recipe here- Curtido Spicy Fermented Sauerkraut


Donations- Another project was just getting some donations together to drop off at a thrift store. Sometimes you keep things because you think you're going to use them. Or you keep things because you're just emotionally attached to them. I had two pair of nice, expensive clogs that I used to wear at my old library job when I was on my feet all day. I thought about selling them on eBay but frankly I thought it would be more fun to throw a little something expensive into a thrift store donation bag! Some lucky person will find them, works for me. Adding some other things and dropping off tomorrow, since I won't have jury duty.

Baking- I've been wanting to make some homemade cookies for a while. I wanted to freeze some for when the grand kids come over, or just have a cookie emergency. So I decided to make some Toll House chocolate chip oatmeal cookies, w/pecans. I love the fact they have oatmeal and adding nuts makes for a great cookie. Simple and easy but very tasty. You can also sub bittersweet chocolate, more like an adult cookie if you like.

Shade area
Keeping Chickens Cool in The Heat
A few years ago I asked Dave to fence in the area between the coop and the maple tree since it was open and nice and shady. The original chicken run was pretty much full sun around the vegetables and WAY too hot. So for very little money we just added a small section of fencing in an L going from the coop to the tree to the fence. Problem solved, mostly! I've written about keeping chickens cool in the summer before, but just one little inexpensive tip! I'm adding this as it works so well and is inexpensive- a hose mister! Just attach to your hose, turn the water on low, and cool mist! I bought one of these hose misters and use it near their shaded area and coop-

Note here- You never want to put a mister inside a coop as it will cause too much humidity, and could make your chickens sick. I never put the mister right in the shade area, but instead I put it about three feet away, usually on a lawn chair. These use very little water, are easy to store in the winter and that little bit of extra dampness really helps cool the air. Cucumber slices, melons, any other kind of cool wet food is really helpful to. I've use crushed ice and they love that as well. Sadly we don't have an ice crusher anymore so I stick to things like cool fruits or vegetables that have a lot of water content. I read repeatedly you never want to give chickens corn in the summer as it tends to overheat them, better in the winter. Having a well-ventilated coop also helps and having a shady place for them to go. I keep the water founts clean and well filled all summer long.
Jul 1, 2018
Easy Vintage Thermos w/Flags Display, Chicks Progress
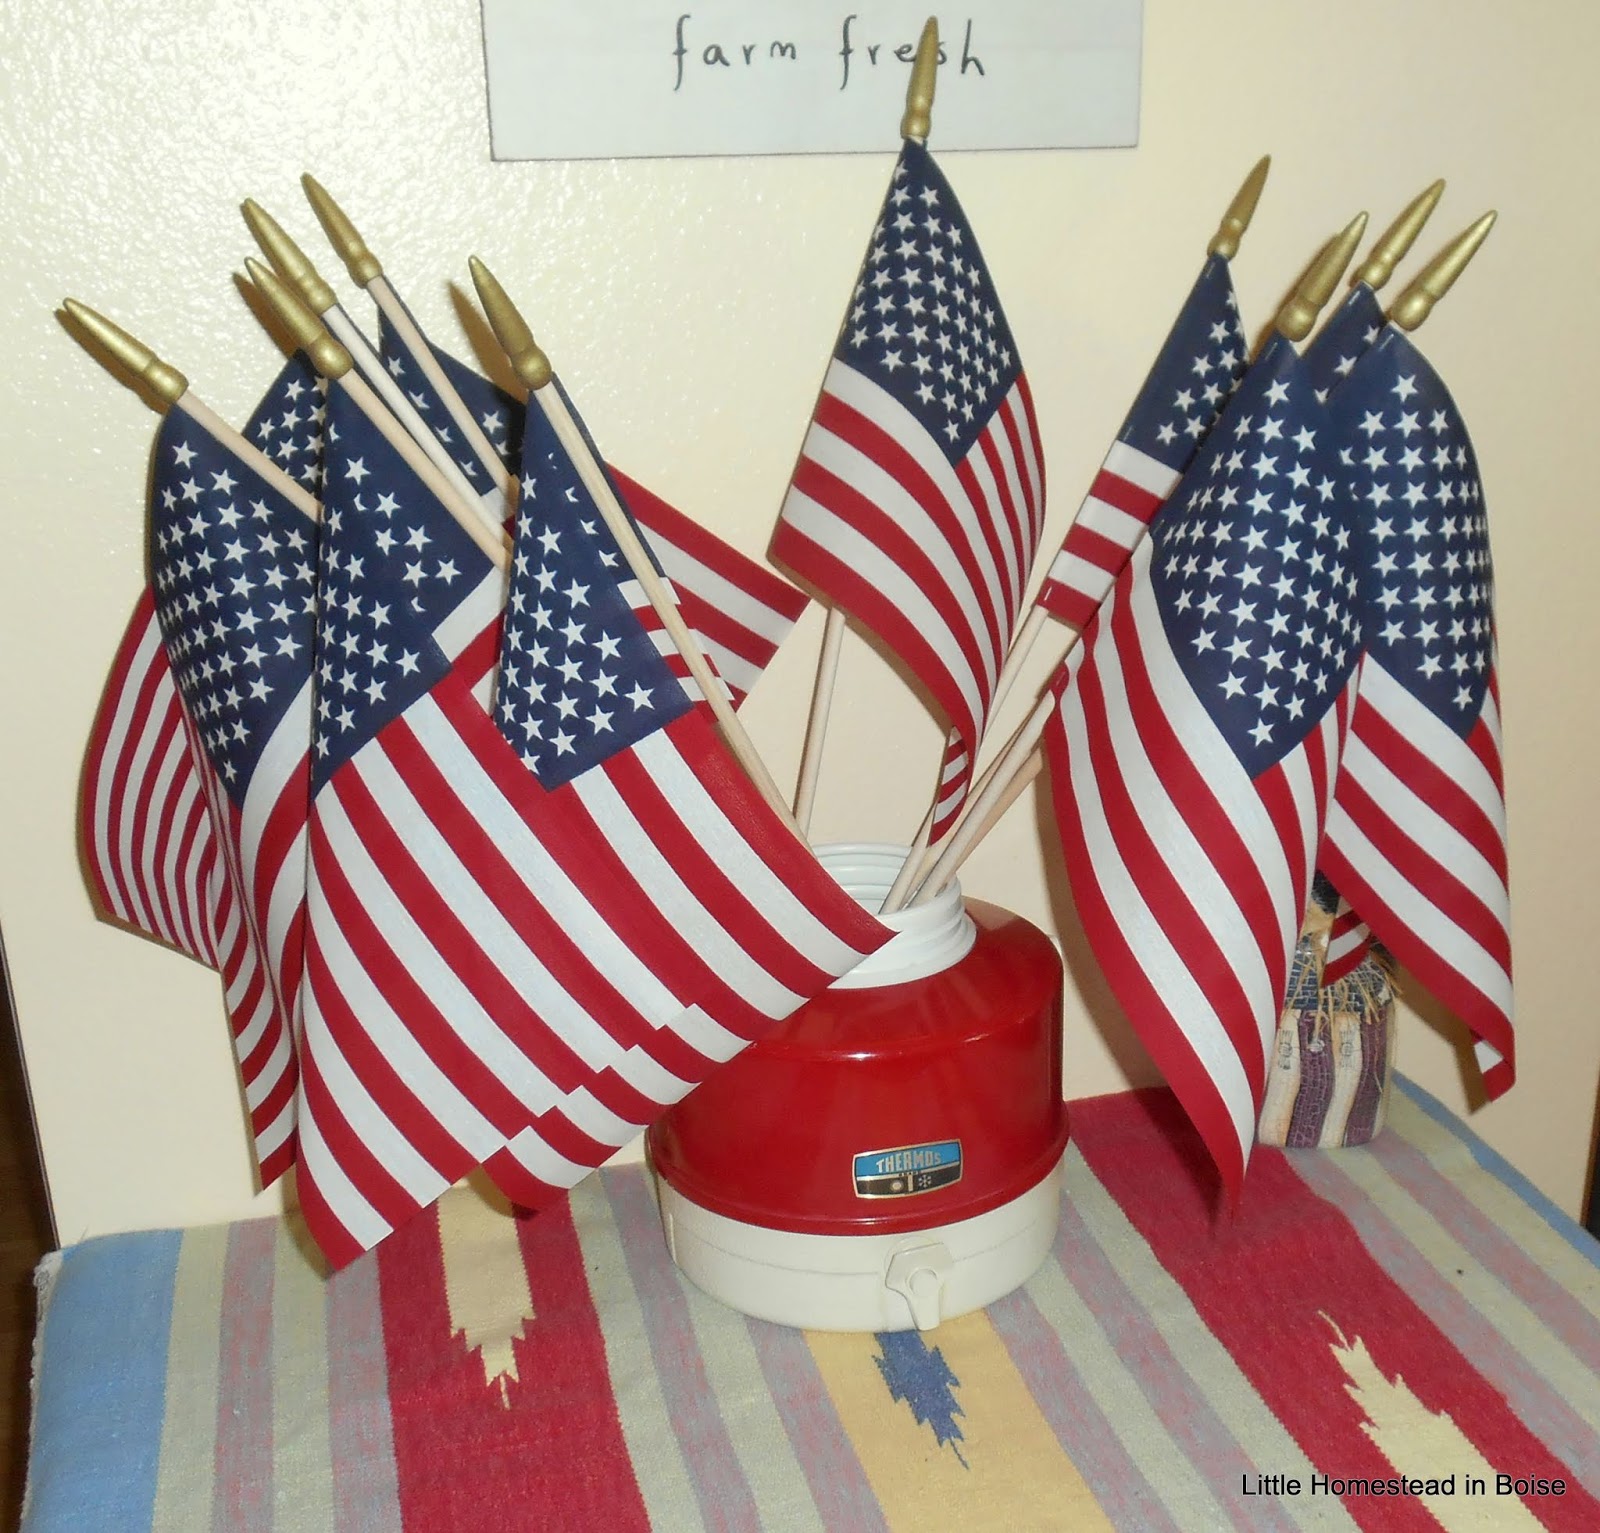
Ironically I was tapped for jury duty the week of the 4th of July! I had set up Monday/Tuesday this week as vacation days and Wednesday our clinic is closed. I already checked and tomorrow no jury duty, I'm thinking probably none on Tuesday. One of my doctors joked oh you know all those judges and lawyers want the days off and I said yes I'm hoping for lots of plea bargaining. Dave will be working but does have the 4th off for the holiday and I'm scheduled to go back to work Thursday, unless I have jury duty. Friday also wound up being a vacation day since we had too much coverage and only one doctor in clinic. So anyway it will be a fun week with some time off , or I will be in jury duty, but I doubt it... so....
A few years ago I found this vintage 1 gallon Thermos jug with cup built into the lid for $3.00 at Goodwill-


It was perfect timing to have the chicks out roaming around and my being home to keep an eye on things.The chicks were outside and had their area opened up to the main part of the garden all day yesterday. The two large hens seem to pretty much ignore them, except for once when Rosie decided to eat a little bit of their feed and pecked at one. No big deal, nobody hurt normal, just the "pecking order" developing. After the two large went hens went in around dark we moved all three of the babies into the coop and closed the door. There was some peeping but that's normal. This morning I woke up about 6:15 to one of the hens really making a racket in the coop. I decided not to have them wake up the neighbors, so I went out in my pajamas. Because the chicks spent the first night in the coop I had closed the main door that the hens use. I went and opened it and the hens came flying out. I think it may have startled them to wake up and find the 3 chicks down on the floor below them. So I went back to bed for an hour or two and then Dave told me two of the chicks had gotten into the Blackberry area-


Pru the black chick taking a dust bath
Yesterday Dave deconstructed their separate area and removed all the bird netting, etc.-

They're hanging out this morning in the shade where it's cool and I will train them to start going to the area behind the coop later in the day-

Next to the coop, then turn right-

behind the coop towards the shade area...
Since they're still exploring they don't realize that there's a large shade area under the maple tree-

The area they're in is fine with shade from the berries and fence. They're enjoying having more room and are now eating some rolled oat treats. It is a lot of work at this stage, just keeping an eye on any gaps that there may be. Little trouble makers! It's worth it though... Safety is always the first priority when they're small like this. Our neighbor cat Poesy came through earlier and I watched her jump the fence and just observed. She looked at the chicks and just kept going, left the garden. Hawks not quite as much of a concern for me now since the chicks are bigger. So far so good, but a little drama this morning. It's amazing the little areas they can squeeze through or jump over. I told Dave I'm going to keep an eye on them the next several days and will adjust needed.

Subscribe to:
Posts (Atom)