Life on a little urban homestead in the making, showing ideas for self-sufficiency, Permaculture, DIYing, organic gardening, food preservation, Chicken keeping, cookery, crafts, thrifting and more...
Showing posts with label inspiration. Show all posts

Apr 24, 2020

Growing A Huge Amount of Food In A Backyard, Building a Coop/Chicken Run


Growing A Huge Amount of Food In A Backyard-
I found that the Gardening Australia group and Happen Films on Youtube has some great videos! I love these two as they're short and packed with ideas! This one is called Inspiring Woman Growing a Huge Amount of Food in a Tiny Backyard in the City!  I love her cute little quails!


This is like part 2, as it was filmed a little later, called A Highly Productive Small-Scale Urban Garden-


During one the films I noticed she recycled an old barbecue into a mini seed sprouting and planting station, here's some screen shots, great idea!


Aerial shot of her long narrow lot-


Building a Coop/Chicken Run-
Another fun video-


I will say I was shocked how much chickens cost in Australia!! You can buy grown hens here for under $10.00 or less, depending on where you live. In the U.S. they always suggest quarantining your birds for a few weeks, unless she bought them all from the same breeder. Loved her reinforcing job on the fence line.


Feb 23, 2019

The BBC's Rosemary & Thyme Series, The Secret Language of Flowers


The BBC's Rosemary & Thyme Series-
After Dave and I went through the Father Brown Mysteries series on Netflix I really wanted to try another BBC series. Years ago I had heard about this series on PBS. The two main characters are avid gardeners out solving mysteries. Rosemary Boxer and Laura Thyme are their names. Rosemary drives a beat up 1980 Range Rover, my kind of gal! She fixes it on the side of the road at one point, that was it for me! Love  it. Laura is an ex-police woman/homemaker and Rosemary is a professor of horticulture. They have quite an adventure when they first meet and then become friends. Our local library had the entire set on DVD so I checked it out. We're both really loving the show, with it's charming characters, amazing gardens they film in. They used some of the most beautiful gardens in the UK and Europe, so what's not to love? The two lead actresses have really great chemistry and it's an easy watch. It aired 2003-2006. Very much inspiring for the upcoming spring gardening season. I've already learned a bit watching the show!!! It has a really lovely musical theme in the intro as well-


Recognize the song???

Check it out!


The Secret Language of Flowers-
During an episode of Rosemary and Thyme this custom was mentioned in a fictional book. In that  episode the main character had planted very specific types of flowers in a very specific pattern to communicate something about his lost love. I had heard of this years ago and forgot about it completely! Fascinating!!! Description here-

Did you know the type of flowers you give can speak volumes? 'The Secret Language of Flowers' is a fascinating insight into the Victorian tradition of using flowers to convey secret messages, in a society where feelings often had to be suppressed. Samantha Gray reveals how flowers came by their meanings in folklore and how flowers became the language of courtship, love, friendship, beauty, and more. Discover the meanings of over 50 flowers: how lily of the valley symbolizes the return of happiness, how bluebells stand for constancy and everlasting love, and how daffodils represent high regard and chivalry. With stunning illustrations by artist Sarah Perkins that capture all of the beauty of flowers, this is an exceptionally lovely and fascinating gift book. 


Feb 17, 2019

Thrifted Clock Swedish Chalk Paint Re-Do, Upcycled Cake Heart = Ivy Topiary


Thrifted Clock Swedish Chalk Paint Re-Do-
A week or two ago I blogged about the nice wooden clock that I found at Goodwill for $5.00-


When I saw the shape it reminded me of Mora clocks from Sweden with the curvy lines-


The clock was made out of nice heavy wood so it was pretty well made. I did a little research and decided to do a light gray chalk paint. I used the same brand that I used for painting the inside of my china cabinet. The color of the paint is called Yesteryear-


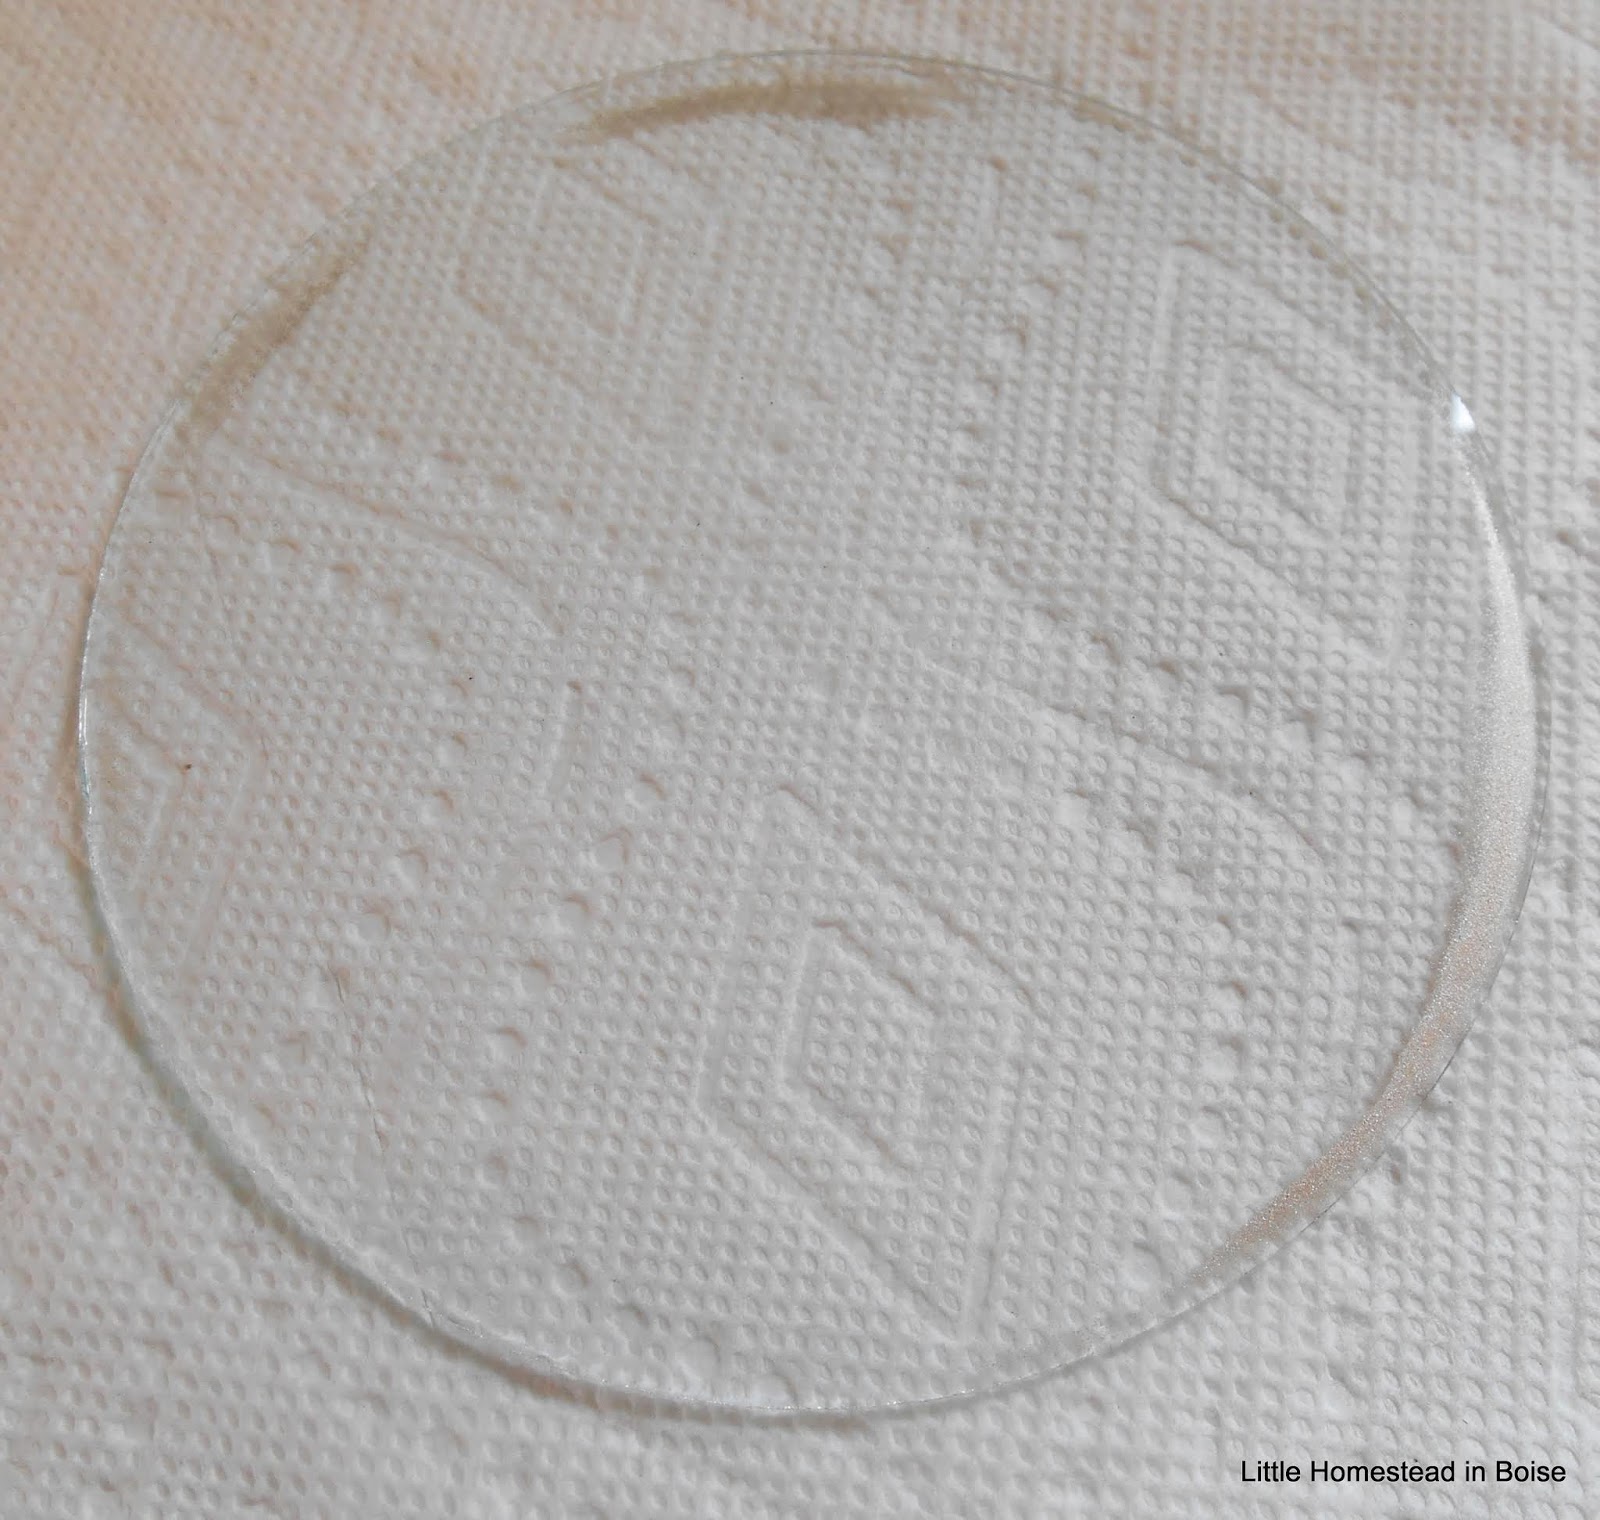
The inside part of the clock that holds the battery and has the face with the hands on the other side was duct taped in. It had four tiny screws, three of which had already snapped off. There was only one screw in place, so I basically gently twisted and the whole piece of plastic was able to come out. First thing I had to do was take it apart and remove the insides since the previous owner had gotten some spray paint on the edges of the glass-


I was able to scrape the glass paint off the glass using a razor and then when cleaned the glass. I put a battery in to make sure that it actually worked, which it did! I thought about replacing the clock face with a different color or style. After seeing the way that the battery pack was attached to the front it wouldn't have really been worth the time and effort to try and retrofit it that.


I would have liked a white clock face with numbers or Roman numerals, rather than the gold, but I decided to live with it. Sometimes when you're retrofitting something you wind up doing more damage than good if you work on it too much!


I used a medium sized craft paint brush and a wide foam brush. The foam brush worked really well for the wide sides since I wanted to minimize brush marks-


I gave the clock two coats of chalk paint with letting it dry really well in between coats-


After everything dried really well I put a really I put the glass in. I put a really small bead of clear liquid nails on the plastic piece and put it into place. I let all of that dry overnight. I put the back on today and set it up. I think it came out great!  The clock was $5 and the paint was $8.00 at Hobby Lobby, total investment was about $6 since I have lots of paint left over. And I LOVE the gray!


Upcycled Cake Heart = Ivy Topiary-
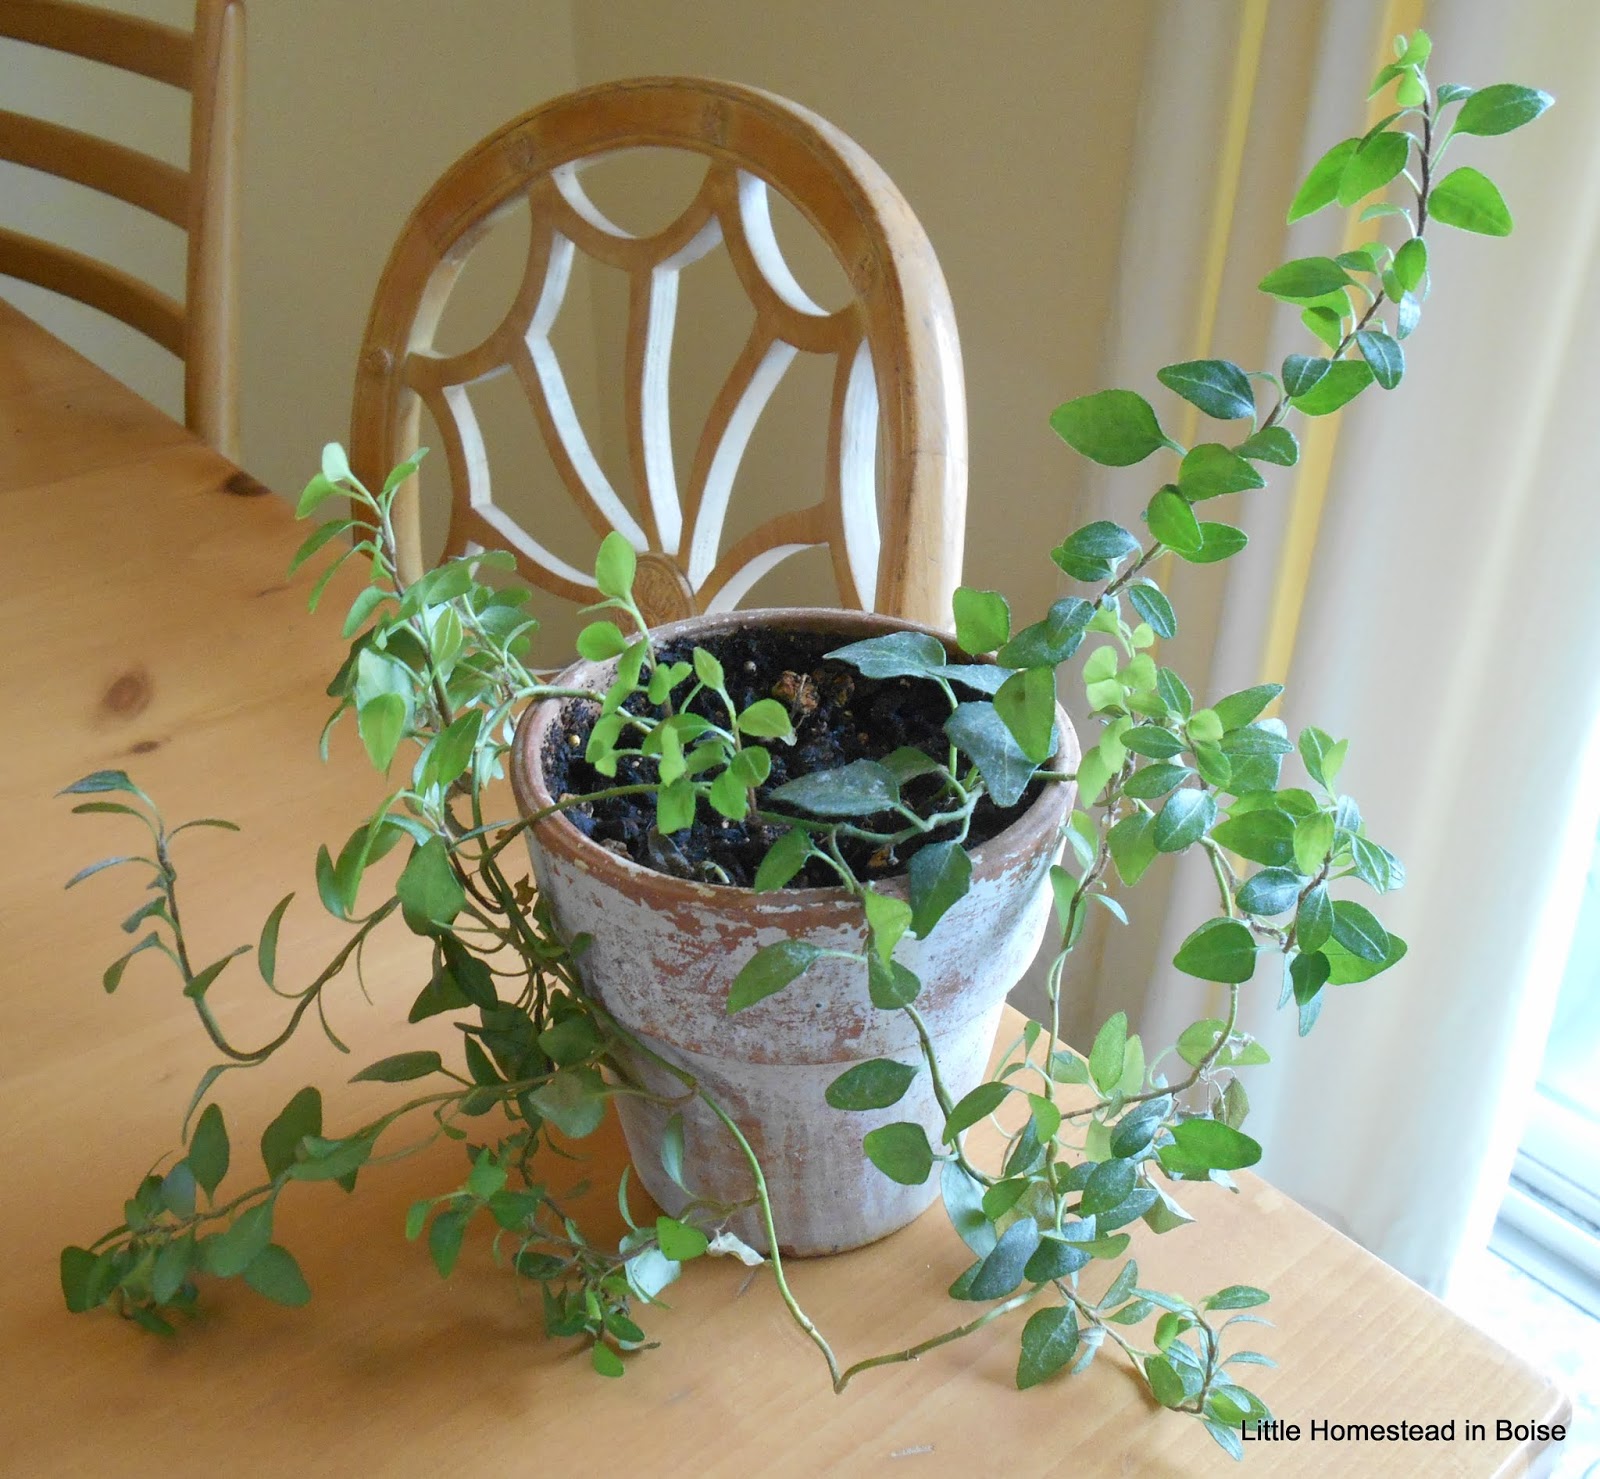
When we did our remodeling on our master bathroom I decided to put a plant there. I found a nice terracotta pot that was slightly whitewashed at Goodwill for a couple dollars and planted an ivy in it-


I looked around for another plant stake like this one but couldn't find one-

Bird stake from a few years ago

The plant has done really well but I wanted to put a heart-shaped topiary frame into the pot. I looked around town but couldn't really find what I was looking for and then I stumbled onto a farm-style rustic cake topper. I found this at Hobby Lobby and suddenly realized I could use it instead-


The first thing I did was rub some cooking oil on the bare wood that was going to be going into the soil to protect it. Next I sat down with the ivy and started very carefully untangling the vines. I lost a few leaves during this process but they will grow back as the plant is healthy-


After I started winding the ivy around the base and up both sides I realized that there were some loose pieces of the vines. I didn't have any thin wire so I used sewing thread in a dark green. I wound it loosely around the heart and the base. It helps see the heart shape and the base isn't quite so bulky. It came out nice, but I will still keep my eye out for a metal one that would be a little bit bigger. Total cost was $6 for the heart shape.


Jan 6, 2019

Easy Decor Using Log Slices, Winter Indoors After the Holidays


Easy Decor Using Log Slices-
I first saw wood slices years ago, used primarily for wood burning. Two years ago I saw really beautiful, natural centerpieces, mostly from Germany, for Advent on Pinterest. Here's a few examples, no links sadly-

Lots of layering, love it

Simple and sweet

What fun!

Lots of colors and texture

Recently I saw this-


It got me thinking I could use wood slices for all kinds of decor! Here's some things I put together, with a wood slice from Michael's for $10.00-

Topiary and Swedish ivy

Little oil lamp

Red pips and birds

 I added this to my little winter bench, using a thicker slice for $5.00, adding more texture-


If you need something different go buy a slice and play with it!!! I can see all kinds of possibilities using what I already have!


Winter Indoors After the Holidays-
I'm hoping for real snow tonite!!! Storm on the way, sick of the brown frozen city. Snow please. I always start in early December putting out fun winter decor. My daughter gave me a nice compliment recently. She said "you always do a great job bringing nature inside". I loved it! I start with winter, my Yule shelf and the Advent ring. Closer to mid December I add Santa's and the Christmas tree. Around New Years we take down the tree and the rest of Christmas stuff. I like to leave up winter items until closer to the end of January. Here's our transitional goodies we have out now-

Snowmen with sparkly cotton balls and min swag

Snowman and birch wreath

Winter pick with chickens

Kitchen window

Winter birds in entryway

More snowmen

Light on the two topiaries with sparkly birds

Pine cone pots in living room

Side table living room

Entryway

Back hallway

Apples over kitchen window

More apples over dining room sliding door

Dining room "window"

Coffee table, put away red runner for my DIY burlap runner

Dome by my computer

Snowman mug