Life on a little urban homestead in the making, showing ideas for self-sufficiency, Permaculture, DIYing, organic gardening, food preservation, Chicken keeping, cookery, crafts, thrifting and more...
Showing posts with label building. Show all posts

Jul 18, 2025

New Coop Finished/Weird Weather, My Free Skywarn Storm Spotter Class I Took With The National Weather Service


New Coop Finished/Weird Weather!
We finally finished the coop! We had a lot of really weird weather in April thru July. We had hot weather, cold weather, Monsoon rain, thunder, lightning and wind. It really held up the coop construction, we just had to wait it out. In April Dave decided to bite the bullet and get started. We set up a temporary coop for a few days for the chickens, which worked out great! They even used the cardboard box I put in there as a nesting box and laid. Dave and I talked a lot ahead of time about what we wanted to do and basically we used the same footprint of the previous coop. Our main thing that we did different was the roof line, and we have the nesting box with inside access only because we like the way it looked. Dave did most of the construction, I had to protect my back. I helped with a few two person holds! Old coop below showing the damage, ready for a tear down. Here are the photos!


Dave started the tear down, we recycled what we could


My last picture of Debbie, she lasted 2 years after the Vet said she would, passed peacefully in the house with me, RIP  


 Temporary coop with rain cover

Dave wanted to build the foundation with concrete blocks on the ground but I suggested that it would be really hard to level. So he used recycled bricks that we had with pressure treated lumber on top of that, then leveled. Then he did concrete blocks on top of that. Should last a long time!


Girls using the nesting cardboard box!


We bought a used window and used storm door for the coop. Dave cut up the old storm door to create a window vent which is great to get cool air in from the north side in the summer. We also have the glass for in the winter when we can close it up to keep it warmer. The storm door also has a panel that goes up and down depending on the weather so it's nice cross ventilation along with the little window, also has a metal vent on the southside-


We decided to paint the coop the same color as the house, and leave the cedar trim natural for contrast. I basically did all the painting except for the part that I couldn't reach, love the color! 

Plastic roof over the plywood, Dave added soffitts

  
I repainted the "Eggs 5 cents" sign that we got from a yard sale years ago
 

We put the wind vane back up, and added some Japanese wind socks as they go with the ones in the garden!


Garden windsocks, love them! 

Bye bye old coop, she lasted 13 years or so mostly from recycled materials-

Interior pictures coming soon...


My Free Skywarn Storm Spotter Class I Took With The NWS-
A few months ago I took a free live online class with The National Weather Service. It was fun and very informative! Lots of good info. For more information go here NWS SKYWARN Storm Spotter Program for classes near you. They gave us all a nice packet afterwards with other resources we could use. It's great to be able to know who to contact if you see something important. 

May 24, 2021

Time To Hire A Pro/Bathroom Tile Upgrade!


Time To Hire A Pro/Bathroom Tile Upgrade!
Back in 2014 we re-modeled our old main bathroom due to rotting floor issues. The tub was probably 20 years old, tan ceramic tiles, etc.  Here's the full re-do we did Bathroom Remodel Reveal  As part of the remodel we installed a new tub and the shower walls we did with three vinyl walls. We were on a tight budget/short on time for the shower walls. Looked much nicer at the time-

We LOVE the window over the tub, lots of natural light! 

Fast forward-


Scale buildup

We decided to invest our Covid $ in the house. The whole Boise valley has very hard water which made this hard to clean after years and years. We tried all kinds of products! I had wanted subway tile but after seeing larger tile we decided to go with that. Large white matte tile (no gloss with hard water) and very light grey grout. Dave and I both decided to have some pros do the install. We thought we just wanted it to be perfect, with re-sale value and all. I also have hand issues, which would have been an issue handling so large heavy much tile, grout, etc. There was an issue with the installer not wanting to look at the job in person and bid, so we did photos and went into the store. We had three three panels, but the bidder thought it was a full shower surround.  On the day of install they realized it. That was good, as the labor went down and speeded up the process! Good news, we saved $800.00! We only have one full bathroom in the house. We will use part of the savings for our next project, the coop/ garden fencing. I was also happy to hear about the new technology that is the epoxy grout. Supposedly lasts forever and should be pretty mildew proof. We choose large 12" x 24" matte white Porcelain tile. I had seen this before with light gray grout and loved it! We added a new shower head/rod as well. I deep cleaned the faucet spout and handle/cover and we re-used those. 

We had planned on having a niche with a shelf put on the back wall, but the studs were too close together. We had planed on adding one heavy, stainless steel shelves to the front corner, decided to add two more to the job for more storage instead-

Love the floral pattern

The workers (two) removed the panels fast, scraped down the old adhesive, then sanded. I didn't take photos of this since it was a small space and didn't want to freak them out. They sanded and smoothed the walls. They added a water barrier, on top of our cement board, mesh up for the tile-


Next tile went up, with spacers-

I ran in while they were out

When they got all the tile up, with spacers, they left for the day. We choose a light gray grout Grout Epoxy listed as Cape Gray. It was darker as first and lightened up as it dried. Here's all the details-

Two shelves rear and one front


Front shelf

New hotel style shower rod/head

Tile around the window, looks much more finished! 

They drilled thru the very thick porcelain tile into the studs for the rod

Shelf floated between the tiles 


As this house was built in the 70's not a surprise when the worker told me the wall wasn't quite level. He had to level the tile by using thicker adhesive/grout. You can see on the edge the gray is wider. I may paint this white. I emailed the grout manufacturer and they said I would have to use an epoxy paint. Will live with it a bit, Dave says it looks fine. They used a white metal edge on the tile, bull nose would have been really expensive! 

I bought new towels from Ikea since the green ones were pretty well done. Sadly they discontinued their apple green color I LOVED!!! I bought a nice Ikea set of blue ones with some edging- baths sheets, hand towels and wash cloths-


I kept the same Ikea shower curtain since it was only a few months old-

Shelves work great!

I added two Ikea shower hooks under the front shelf to hang things from. I had also bought a basket to match but looks like we won't need it. We may put it right above the edge of the tub on the wall if we take baths. We are more shower people-


Art work back up

All in all it came out great! We will be able to maintain this tile easier with the matte porcelain finish. We're looking at the kitchen counter next, time will tell! 

May 11, 2021

Garden Rehab Phase 3, High Lumber Prices = Coop Rehab, Pond Fun!


Garden Rehab Phase 3-
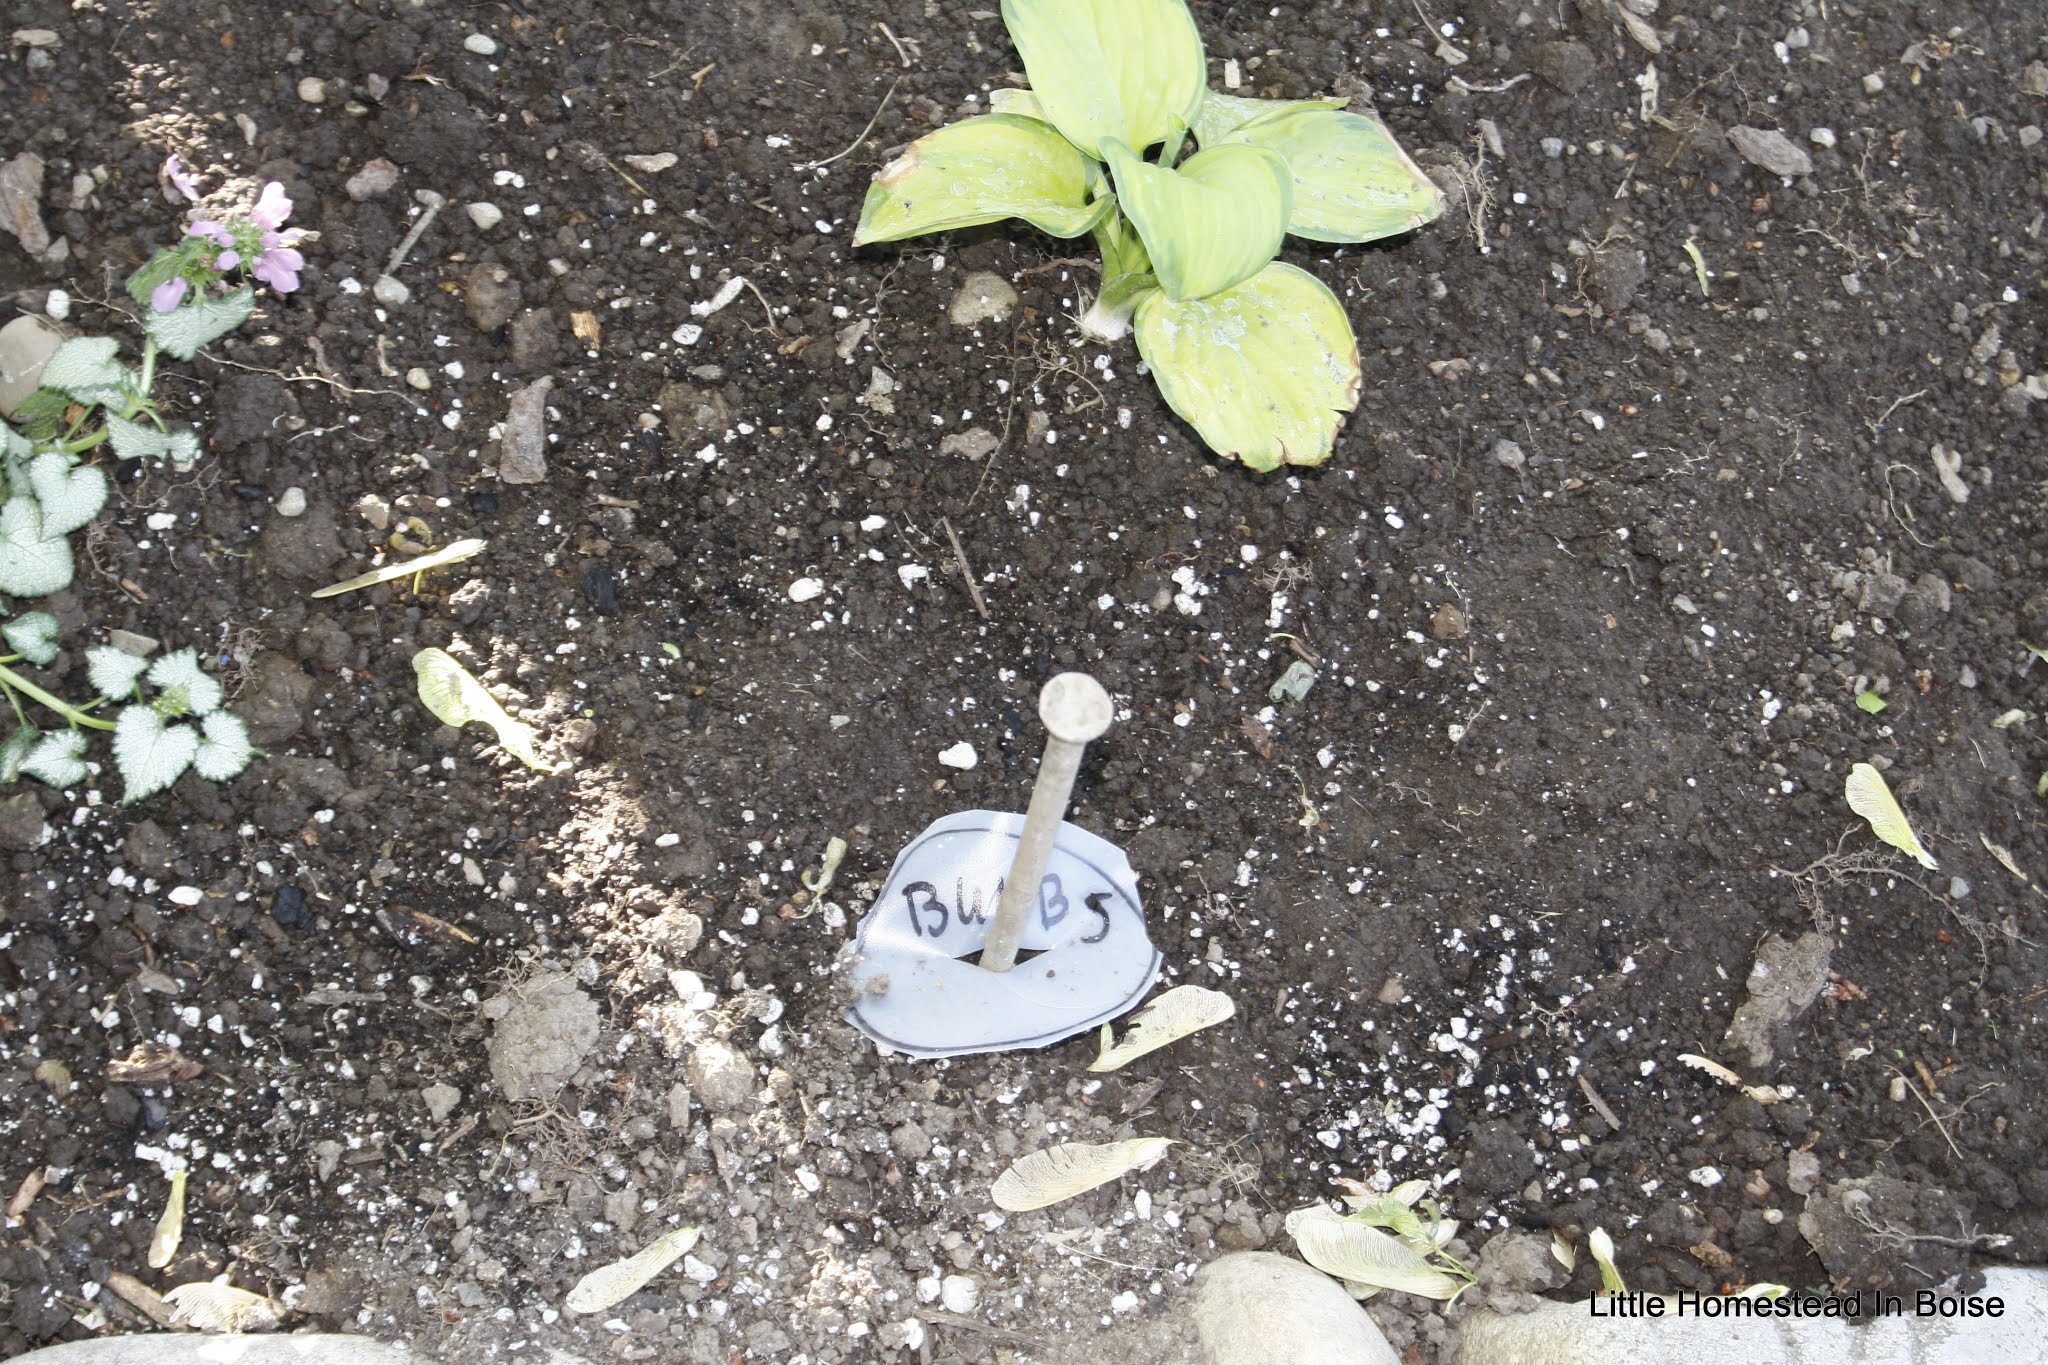
As part of our garden rehab we went shopping last weekend at Edwards Nursery, which has an amazing assortment of plants. While we do buy some plants at big box stores I really like to go to smaller nurseries that have more variety. I like to mix and match! We went through their perennial section of shade loving plants that can also take some sun. The part of the garden were rehabbing is under our maple tree but does get some filtered light. We decided to go with some different colored flowering and non-flowering plants- "Lemon Frost" Nettle, a "Orchid Frost" Lamium, Pulmonaria "Trevi Fountain", "Bowles Garden" Gold Sedge, a Masterwort "Star of Beauty" a fern Dryopteris filix-mas "Parsley", a "Stained Glass" Hosta. We also found a beautiful small "Ruslyn Pink" Japanese maple tree. Dave planted the dwarf Alberta spruce first. I posted about the 3 large Arbovitae we got from Costco, those went first!  We already had some Feather Grasses, 2 Boxwoods and the large Bamboo, we Dave moved. Luckily I worked 4 hours of overtime last weekend and brought in a little extra pay for this, which I don't mind. Will help offset some of the costs of what we've been buying. Leftover hardscaping is going to one of our girls this weekend. Dave will move the boxwood near the coop to the right corner after it's gone.  We'll add some bulbs in the fall, I put out some markers, circles cut from a mild jug and stakes-


I may choose some Irises and we'll bark dust soon. For a reminder, here's the "before" photos-


We moved the listing solar lights

Dave will fit the flagstone soon

Thrilled the bamboo survived the move! Dave also moved boxwood to the right 

That's it so far and we love it! I will be building a small fairy house since they requested one! I got idea here one morning channel surfing-


High Lumber Prices = Coop Rehab-
We thought about rebuilding our Coop and moving it to a different location in our backyard. The coop is over 10 years old and needed some help. Original post here Coop Re-Do 2013 Dave started pricing lumber and talk about sticker shock! I have been hearing on the news that lumber is up about 35%, which is huge! Previously Dave worked in some jobs where he was able to get free lumber but not so much now. We decided to look at what the coop really needed to be repaired. One thing was the floor,  an elevated section when you first walk in. The wood was sagging and it was obvious it was time to replace it. I was talking to Dave and thought instead of buying a sheet of plywood what if he could get some kind of scrap wood in short pieces and use it for the floor. Wouldn't you know it! He found free (at work) 2 pallets that are made for shipping very, very, very heavy electric motors. These are not your typical pallets, more like 2" x6"s! He was able to get two free from work! He basically disassembled them using a Sawzall to cut the nails-


Dave cutting nails

Recently I INSISTED he buy some new sawhorses, much safer, they fold up nicely

Nice wood pile

Big crack in floor

New elevated floor goes in 

All done!

The second part of the rehab of the coop was doing the rest of the floor. We had just had a dirt floor in the coop with the chickens digging in it constantly. One of the problems is they have dug under the edge of the walls, which is weakening the whole structure. Since we had so much hardscaping left form various projects I mentioned to Dave maybe we could just use some of that for the for the coop? The pine shavings would go on top of that. Since the chickens have access to the Garden run year-round there's plenty of dirt for them to dig in there and take dust baths. So Dave started digging out the coop floor including the pine shavings. It was time to clean the coop and add fresh pine shavings anyway so he did it all the same time-


Uneven is ok, will be under a thick layer of pine shavings!

Chickens had to help dig! 

I should clarify that Dave is not being coerced into doing projects. Dave loves projects! It was Saturday 8:30 am in the morning and Dave was out digging in the coop! The bricks were  free, they came from the edging of our front yard, that came with the house. We replaced with river stone that we got free. I'm just not a fan of brick garden edging. Over the years we've been able to get free river stone from various sources (legally) so we've been replacing the edging around both yards with those. I love the look, very natural.

The last thing for the coop was the wood door. When we built the coop I found the old wood door for $10, but now it was really, really warped. I asked Dave what he thought about buying a used storm door that we could use instead. Something aluminum/lightweight that could either be opened or closed depending on the weather. Dave found the door for $15.00 at the Habitat store. The glass panel comes out for the summer, back in the winter. I'll replace the screen soon. We may have to tinker with the glass panel locks and I may paint it later-


So the coop re-do TOTAL was $15.00 and a box of nails, pretty good!  A lot less that $500.00+ for a new coop!  


Pond Fun! 
The ducks have been coming and going, mostly later in the day. I put out some extra wild bird food. They love the small pond! They flew in fast and low over my head 2 days ago before landing in the yard. About gave me a heart attack! So cute though, love them.

Nap time