

Rain, Rain Went Away!
The weather the last month or two has been kind of crazy. We had warm weather (87), then cold, (38) then warm, then cold, then cold. Last Wednesday we had record-breaking rain, 1.2 in in the Boise area. I was working that day from home and looking out thinking maybe our house was going to start rising and float away! My poor seedlings almost drowned-


Last December we went and visited my husband's family in Portland, Oregon. We saw how my brother-in-law had his garden path redone in his backyard with crushed stone. We had a high-traffic pathway of round pea gravel on the north side of our house that is always a mess, even with all of the pavers we added years ago. Sadly round pea gravel moves around a lot-


buried pavers


Here's the steps to doing this- First measure the area several times. Figure out how many yards you'll need, price, color, etc. It pays to shop around! We scheduled delivery since the truck we could borrow couldn't handle 4 tons! There are online converters to convert from square feed to yards. Here's the prep...
First remove the old gravel and soil-


Next decide on your edging, we chose pressure treated wood, nice and natural looking. Measure and cut your lengths-


Temporary storage
Build and install your edging, using common galvanized nails, we used survey stakes, cheap and re-usable in the garden. They hold the edging in place, once stone's in you can pull them out -

Level as best as you can-


Delivery time!!!
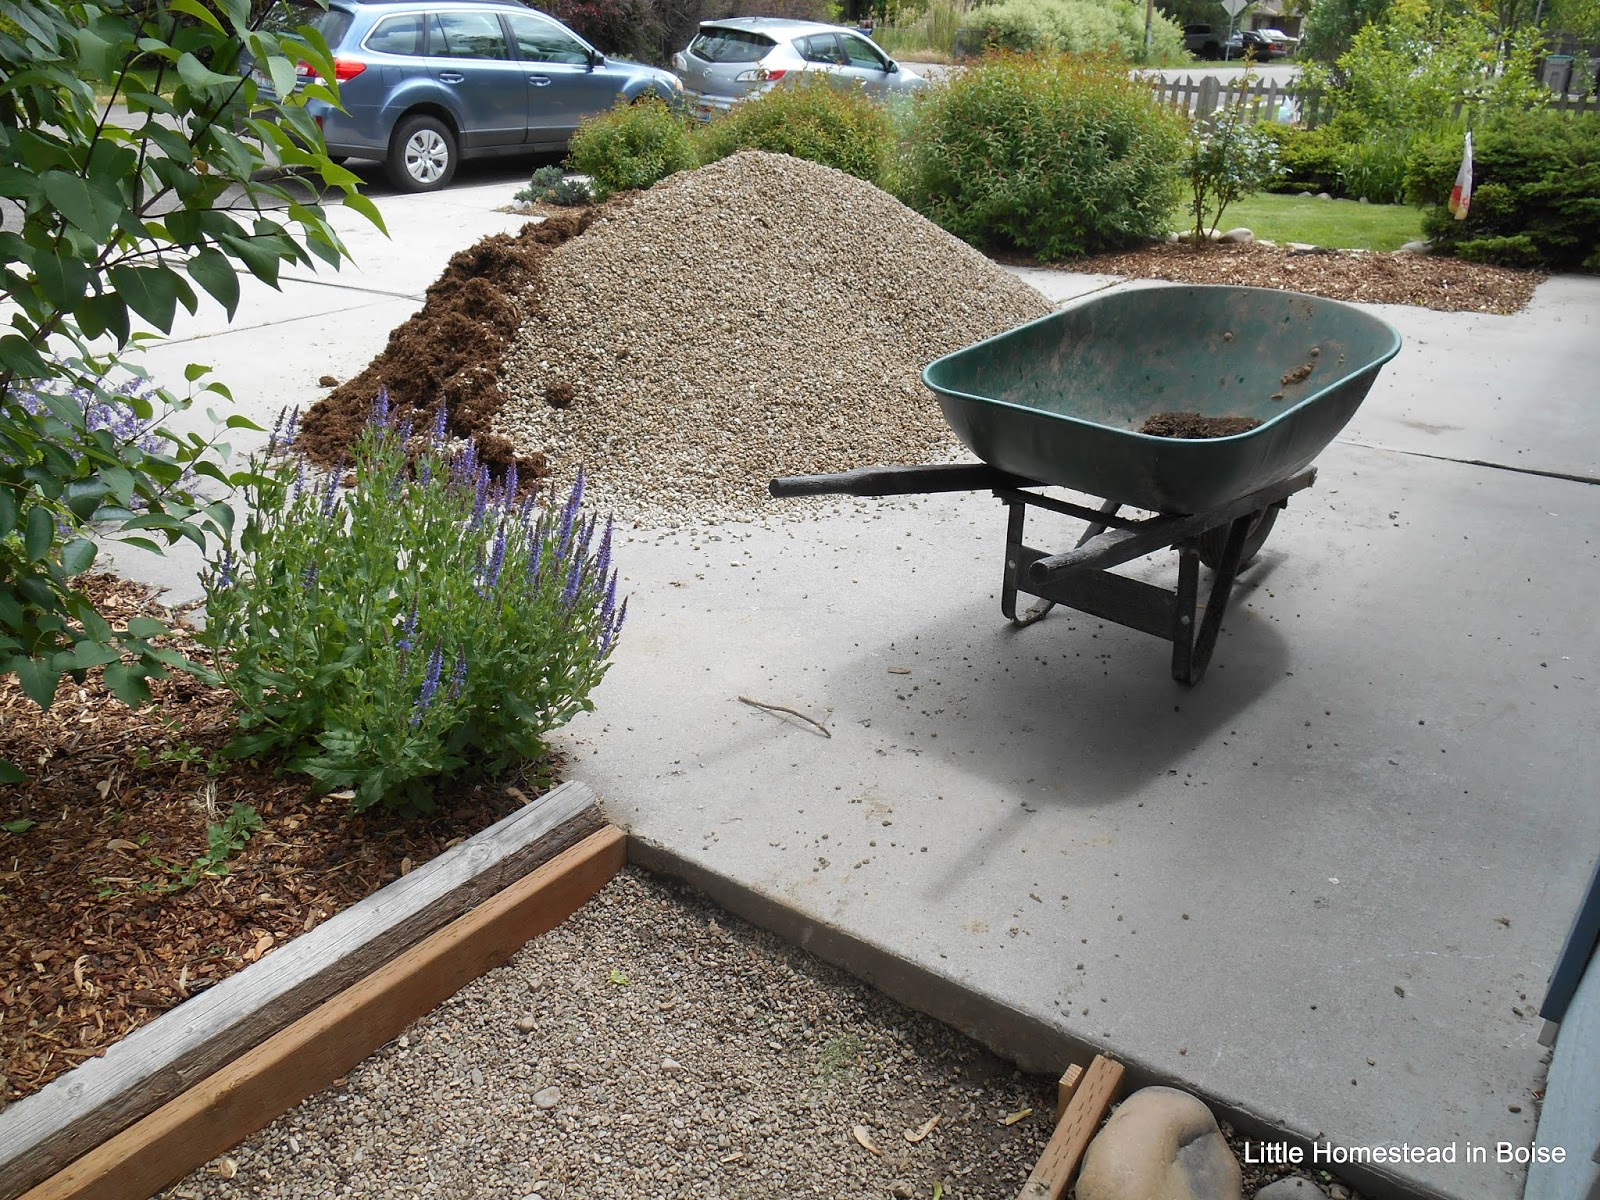

We also got some shredded bark in the mix, oh joy!


Dave separated the mulch as best he could, there was much more than we thought!
I did call the stone place we bought the rock from and complained that we wound up having 2 large garbage totes full of the mulch! I let them know we weren't very happy. Driver should have checked his truck before loading, wound up being a real mess!

Next start adding rock to the path, rake as you go, after doing half water well. Next tamp down, do other 1/2. Water and tamp down again!

Dave did the entrance to the garden and then the entrance into the coop, both of which tended to get pretty muddy-
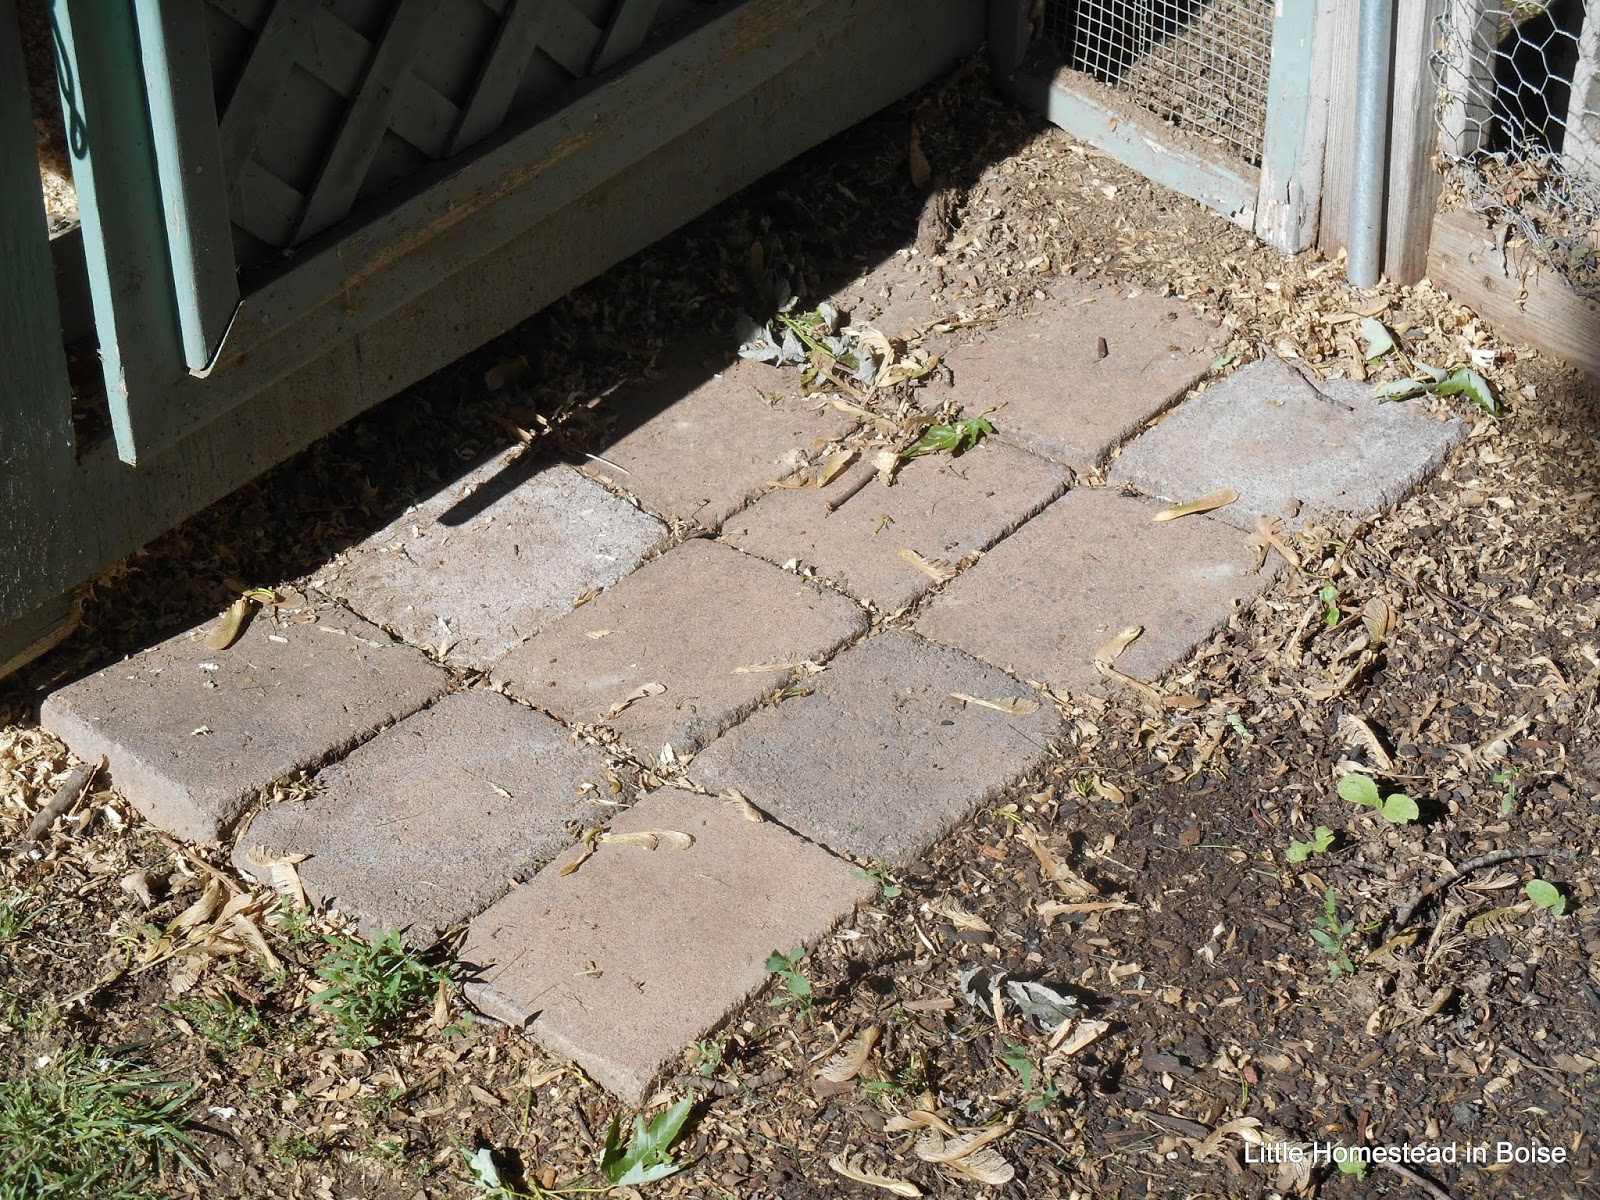
Before
It was also uneven after years of sinking in. Dave went and bought a couple more pieces of lumber to frame in the areas-


I suggested we widen the path, good idea!


So after Dave Tamped down the first layer watered it and let it sit overnight next he added the second layer of crushed stone. Watered it in and tamped it down. It turned out to be pretty loose still. After doing some research we decided it would be best to rent a steel gas powered tamper that we can press the stone a lot more and leave a much firmer surface. So the next day we went back to the rental place to pick the BIG one up. It looks like this-

It weighed a few hundred pounds and was very tricky to unload out of our Outback. We used two 2 x 4's (my idea) to push it back up when done. NOT FUN, more of a 3-4 person lift!


Dave did the path several times, then we took back to the rental place, Dave watered well.
All in all we love it! Dave did a great job, with me contributing more ideas.

All done!
There was a little mulch mixed in the rock in the two small areas, but we can live with it. It will bio-degrade over time. We'll use the 2 totes of mulch in the garden. Rosie the hen came to inspect-


8 comments:
Yes, this crazy weather make for perfect catch a cold weather.
Wow, what a huge job your walkway project was. But now that it's done, I'm sure you're glad you tackled it. Looks great. (I would have been really bummed about that mulch mixed in with the rock. Grrrr!)
We're actually having really high pollen season so no colds yet. At least it finally warmed up!
Yes Dave's a really hard worker for sure and he was really wanting it done because he's the one who uses the walkway the most. The most recent too bad it mostly shows in the Garden Path and the coop and I will use the leaf blower and see if I can get some of that out of there. Dave and I both did that on the front driveway and we were actually able to blow a lot of the Mulch off of the rock into a separate pile. What can you do!
Your new garden paths look fantastic! Tell Dave he did a really good job. And you did a good job on the photography. :)
Looks so tidy! happy gardening
Yes he did! Thanks I do try to show no photos to kind of give people an idea what the process was
Thanks Endah you too!
Post a Comment