Life on a little urban homestead in the making, showing ideas for self-sufficiency, Permaculture, DIYing, organic gardening, food preservation, Chicken keeping, cookery, crafts, thrifting and more...
Showing posts with label small houses. Show all posts

Aug 4, 2020

Updating Home Office/ Adding Desk Extension


Updating Home Office/ Adding Desk Extension-
When I started working from home in late March I didn't know how long it was going to be. We had a nice little desk in our spare bedroom that Dave mostly used. I decided to start using it. It faces the front yard, facing East and has a nice view out the window-


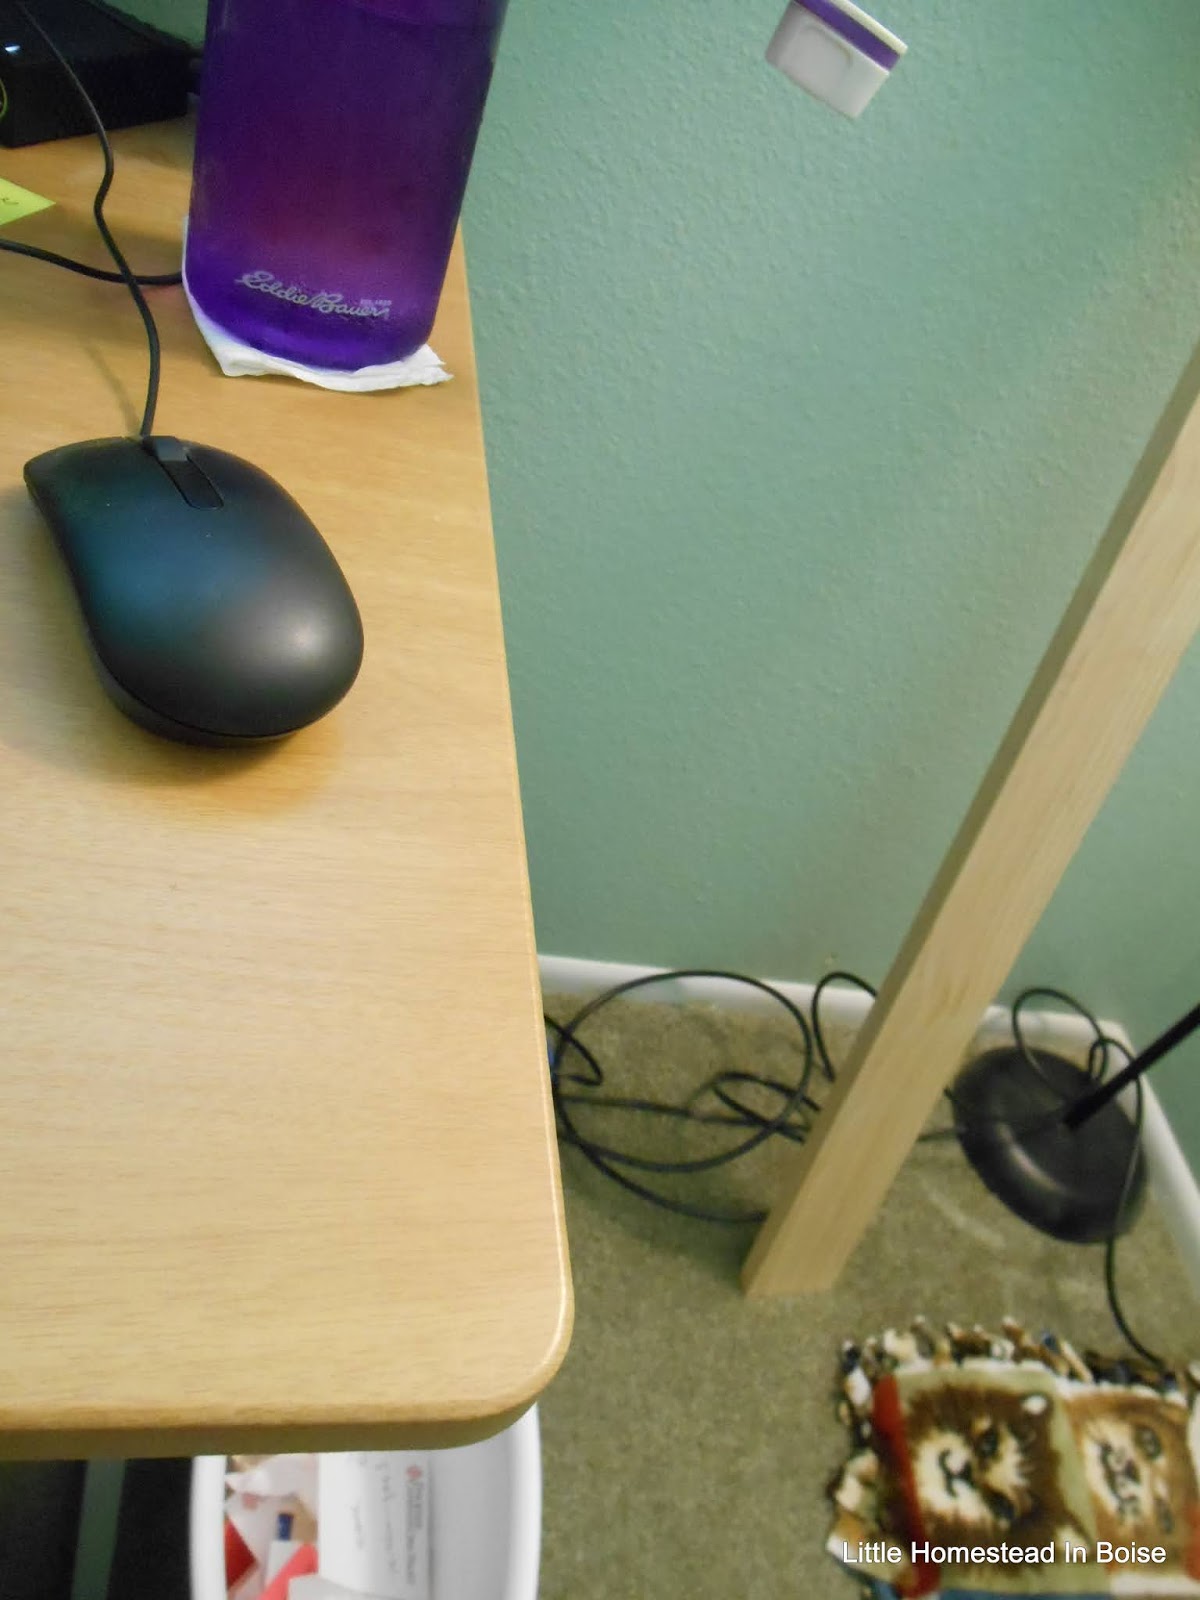
Previously in my office at work I had two monitors, which I really needed. Since they were moving out a huge amount of staff at once I only got one monitor, which was frustrating but I got used to it. This week they gave some of us second monitors, and some extra equipment since it looks like we'll be working from home permanently. Permanently is a loose term since who knows how long that means? Anyway I picked up my second monitor and this weekend Dave built me an extension for my current desk to have room for it-

2nd monitor waiting

End of desk

Luckily I saw the keyboard tray that I had Dave remove from the desk on the floor. I had a eureka moment thinking that we could basically use the keyboard extension as an extension on the desk to hold the other monitor. Dave used some heavy brackets and added a pine leg for stability-

works great!!!


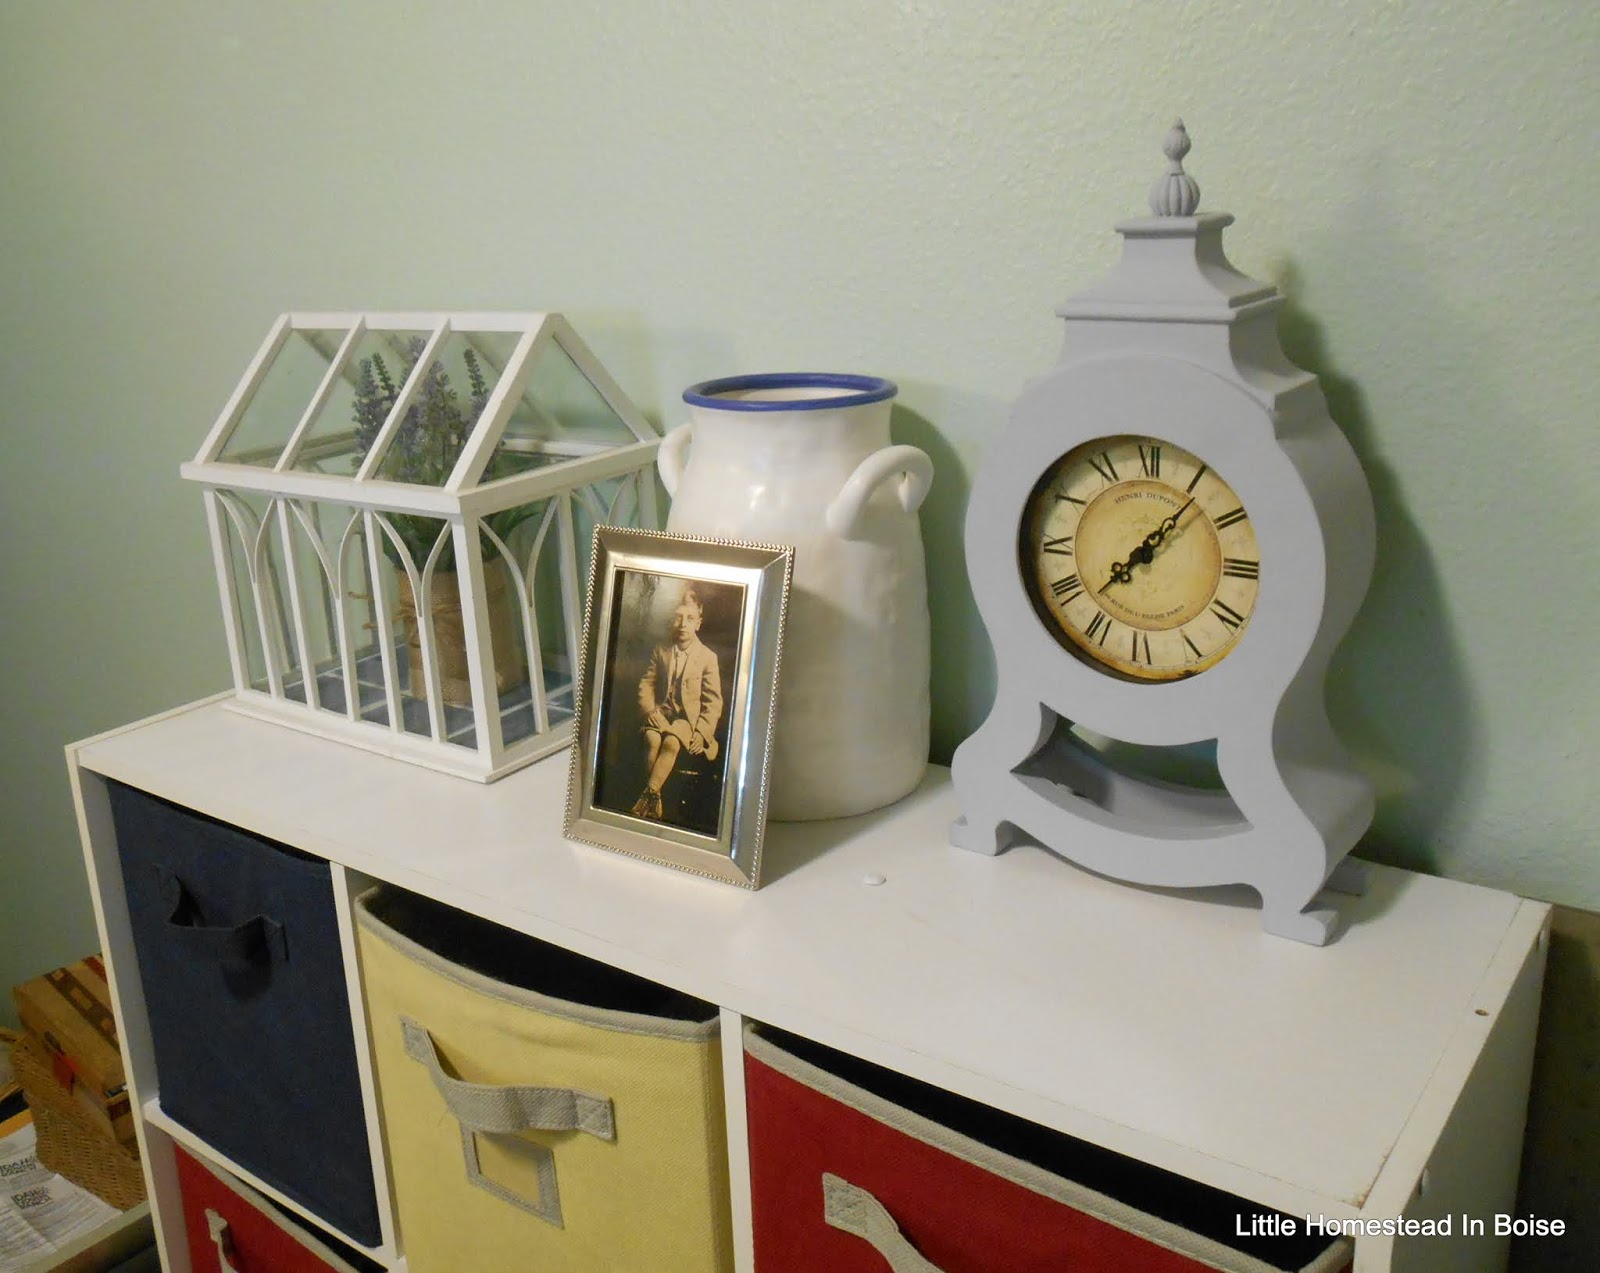
I also wanted to update some of the decor as the walls are a light sage green, but is a cooler color. Some of the art on the walls were dark blacks and grays, which seemed too dark. So I swapped out some prints that I already had with white or light backgrounds. Then I bought a few things at Big Lots. I got a really cute little faux wreath, a white faux mini farm door and little wooden sign that says Live Simply with a white background. The sign was $5 and the wreath was $6, door was $20-


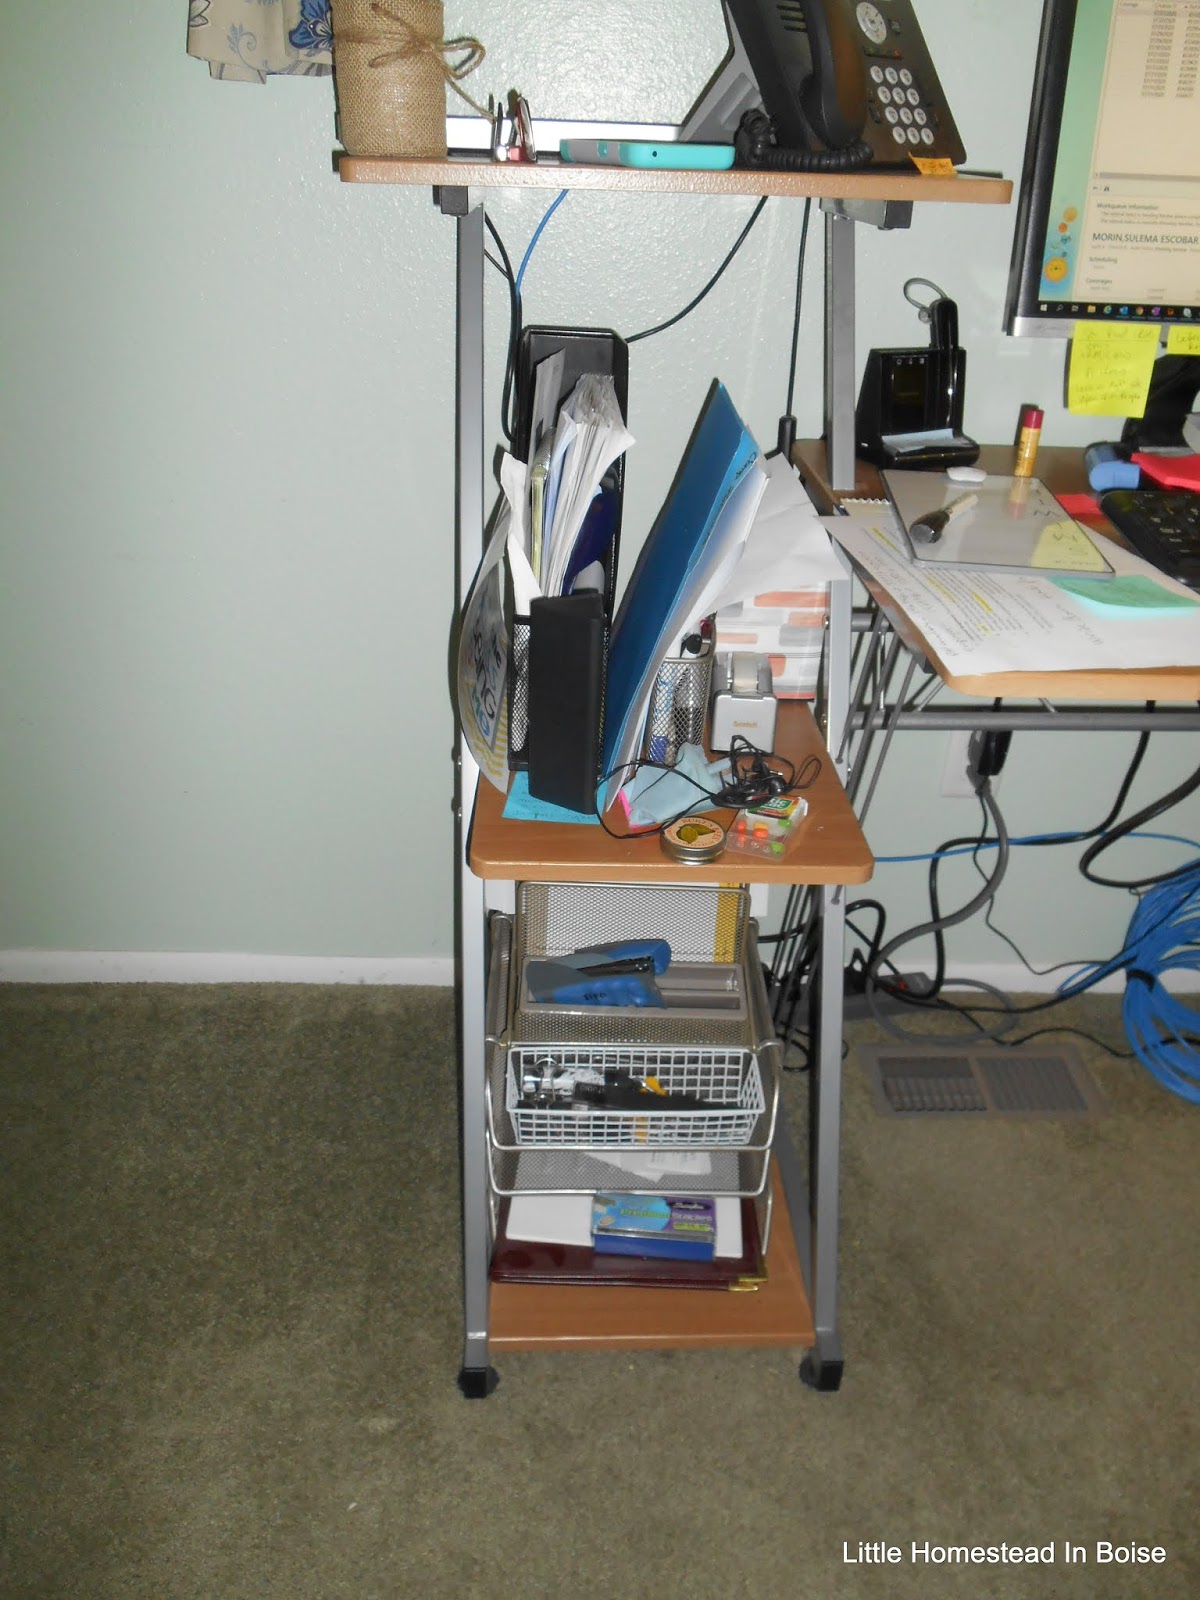
I transformed my previous home office into my full-time work office with a little bit more pizzazz. I also decided to reorganize our canning and storage rack so it looked a little bit nicer. Those little things to tweak. When you're working in a home office 8 hours a day and 5 days a week you notice all the little annoying things,  messy rack-


Before, messy desk shelves-


 After shelf shot-


 Also cleared off  small organizer with drawers-


I also re-purposed my thrifted frame/ home printed sign I had in my old office-


Now in my main hall with my lemon topiary I made!

Apr 24, 2020

Growing A Huge Amount of Food In A Backyard, Building a Coop/Chicken Run


Growing A Huge Amount of Food In A Backyard-
I found that the Gardening Australia group and Happen Films on Youtube has some great videos! I love these two as they're short and packed with ideas! This one is called Inspiring Woman Growing a Huge Amount of Food in a Tiny Backyard in the City!  I love her cute little quails!


This is like part 2, as it was filmed a little later, called A Highly Productive Small-Scale Urban Garden-


During one the films I noticed she recycled an old barbecue into a mini seed sprouting and planting station, here's some screen shots, great idea!


Aerial shot of her long narrow lot-


Building a Coop/Chicken Run-
Another fun video-


I will say I was shocked how much chickens cost in Australia!! You can buy grown hens here for under $10.00 or less, depending on where you live. In the U.S. they always suggest quarantining your birds for a few weeks, unless she bought them all from the same breeder. Loved her reinforcing job on the fence line.


Oct 27, 2018

Prepping The House, Cars & Coop For Winter, Affiliate Earnings Reveal!

Coming soon!

Prepping The House, Cars & Coop For Winter-
With winter just around the corner next week we are wrapping up the prepping phase for winter.
We have temperatures dropping 20 degrees tomorrow night, with lows in the low 30's, highs in the low 50's. It's supposed to be around 70 today.


In our winter prep we include both of our cars. Recently they have both been waxed, much needed. We added new wiper blades (Costco's great deal!), I put in a car size spare blanket, ice scraper/snow sweep. It does snow here on occasion. Good to do early when the weather is nice. Dave cleaned up his work bench in the garage today. No big projects looming, that we know of.

With the house we've been re-caulking windows. Dave had rinsed off some spider webs on a window in the summer and I found there was actually some water on the inside of the window sill. Not a good idea. We installed new windows about 10+  years ago, since the old ones were pretty well toast. To say this house had little insulation when we bought it(attic and windows) is an understatement! We both caulked the new windows really well. After 10 years it was time for a refresh and so Dave re-did all the windows again. No ladders for me with a brace on my arm! Caulking keeps the cold weather and helps the house stay cooler in the summer. We already put the vegetable garden to bed. Sad looking but that's it, just an empty space. We added more compost to the cold frame to break down over the winter. It's kind of cute that one of the annual flowers that went into the compost pile is actually still alive!


One of the things I always do is clean off and cover up our garden work bench with clear plastic to protect it from the elements. We store the tools in the garage for easy access if we need them. I repainted the bench early this summer since the wood stain was pretty well shot. We bought it right after we bought this house since the deck was fairly small, but we needed some kind of work space. It's held up really well, it just needed a fresh coat of paint. We already closed the foundation vents. New furnace filters, extra batteries, and water jugs. I'll empty the rain barrel soon since it freezes.

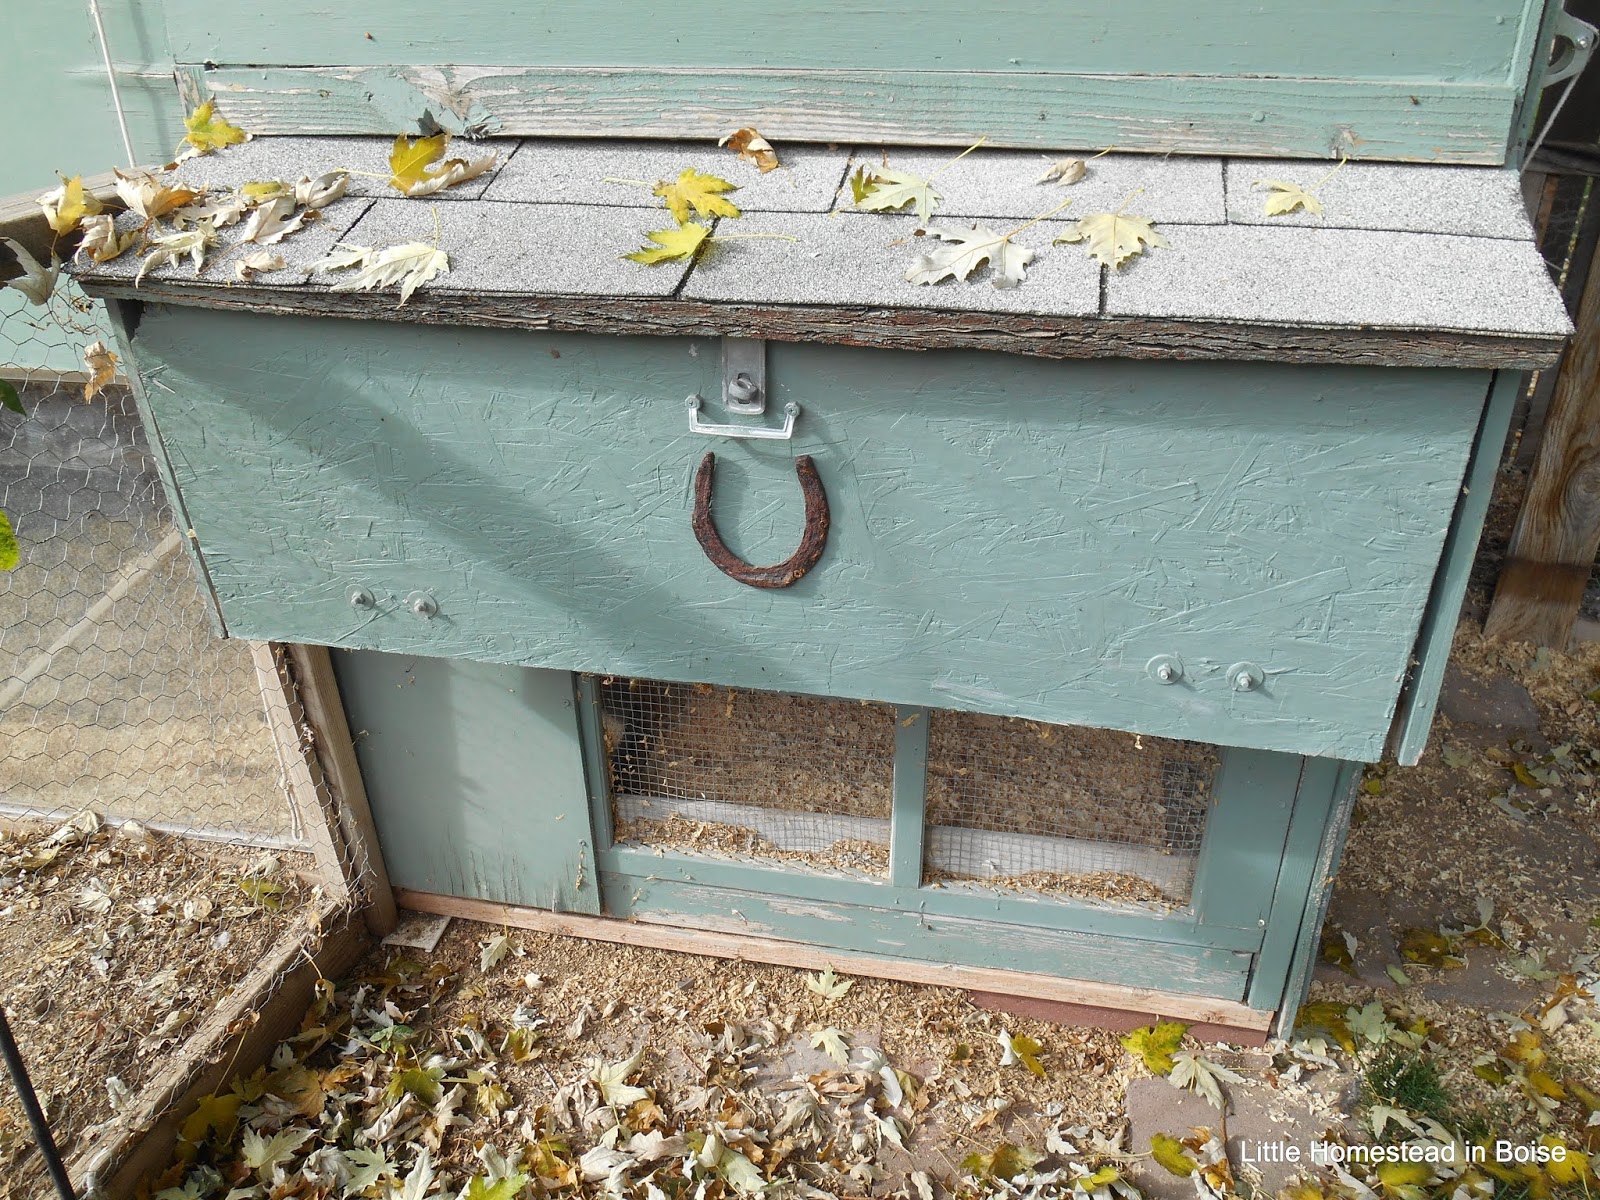
For the coop Dave already added the lower window to cover up the bottom portion of the coop. It got spattered with mud during our 1" record rain fall recently, so he cleaned it up today, here's the before shot, no after sorry-


It replaces the hardware cloth in the winter. Late tomorrow, or weather depending, I'm going to cover the screen top of the coop main door-


We'd had a couple of cold nights and didn't have any clear plastic on hand so David covered it with a black garbage bag. I took that down when the weather warmed up again, since the weather has been crazy! We use the deep litter method in the coop and it worked amazingly well. David cleaned the coop out a two weeks ago, the pine shavings/poo went to the city compost. They finally added compost totes to our garbage service this year and it's been great! We have built up the soil level so much over 10 to 12 years that we can't really add a whole lot more to it. So we either give the pine shavings away to our kids or it goes in the compost tote. I touched up the paint today on the coop since there was a few spots that needed it. Luckily we had some paint left, since it was the old house trim color. I still like it!

Before

After- 


This is possibly the last weekend of real warm weather, as far as I can tell. Time for these kinds of outside jobs, so we get them done fast. Dave mowed and stored the hoses, covered the water spigots with their styrofoam caps. In the next day or two we will lay out the big industrial, exterior extension cord that we use to power the coop, including the heated water and the two lights. We have a reptile light that we use on the upper part of the coop for a little extra heat when it's really really cold. We also have infrared heat lamp that's hardwired in. I don't really use either of those until it's in the low 20's, or lower. We always add extra pine shavings when it gets really cold and that seems to help quite a bit. I am proud to say that none of my chickens have ever had major frostbite over all the winter's that we have kept them. They can go out in the cold weather and there's enough ventilation to keep them healthy. They all seem to deal with the cold very well. We will put up the "sun room" (to photo) when it gets colder, for extra space in the rain and snow. All made from recycled materials and custom built by Dave to fit onto the coop. I'll keep an eye on the forecast. In a year or two we may need to re-build the coop. Time will tell. When you design your own coop (after tons of research) there's always things that can be tweaked.


Affiliate Earnings Reveal!
I was reading an article today that some "Instagrammers" now call themselves "Bloggers", but don't have an actual blog. They post photos with a few sentences on Instagram. Not much writing involved. Sometimes it's about making money and that's all. I know there are some bloggers who are young, competitive, have no families and work 24/7 at a job and they blog. They make quite a bit of $, but I just can't do that. I sit at a computer all day at work and don't want to do that at home. My eyes object as well. This post today took several hours, for instance, not counting photos and editing. I read this post today and it is a FASCINATING read The Dark Side Of Blogging

If you've been following this blog for a while you have probably seen my Amazon affiliate statement and the various items that you can click through, and buy to help support this blog. I get a tiny percentage. It's been really interesting to see what did, and didn't happen, with Amazon. If you look below you can see what my total earnings have been for the last 90 days, and well, it's pretty pathetic-


Yep, $1.72. They owe me about $10.00, but won't pay me til it hits $20.00. Nice. Ironically I actually have made more through product click-through at Hometalk. I was actually shocked when I got an email saying that I had earned $57.00. It was my first payment. It works like this- people read my DIY projects on Hometalk. When I list specific items, like my back splash material in my kitchen, they can go to the bottom of the post, then buy that item. That goes as a credit towards me and eventually I can make some money doing that. It was actually pretty funny when I got an email from them saying that I had earned money. I thought it was a scam, but it wasn't. Here's a screenshot from Paypal-


I have posted 11 DIY projects, taking about an hour each. So, it's been an interesting experiment. Since I basically don't get any income from this blog I've been writing for years, maybe there's hope. Do you make any money off your blog?

Jan 13, 2018

DIY Floating Corner Shelves, Free Online Essentials Oils Class! Homemade Chicken w/Biscuits & Gravy


DIY Floating Corner Shelves-
It was 54 yesterday and felt like spring! WOW! I'm loving the sunny, mild weather for now. It's still winter so time will tell. I'm grateful we haven't have the terrible snow we had last year.  Last weekend Dave built the shelves I had been wanting. It got put off until after the holidays and babysitting. I first got the idea here- 4men1lady.com Corner Shelves I asked Dave to build some in our front corner hallway. He looked at the plans and he said it was VERY overbuilt. Since he's great at carpentry I trusted his design. We used lighter weight wood, saves $ and it's very sturdy. Don't waste your $ on heavy wood for such a small use project. Before we had a wire rack, that folds up, with a Swedish country shelf above. Dave took it all down before I could get a full shot, but here's the old one I had-


Dave took everything down, we talked about how wide and high the shelves should be, then marked with painters tape-


View down the hall-


Sorry, kitty box showing!


Next he leveled, then mounted the supports to the studs and nailed in, using his little nail gun. It worked great for this, no huge, messy holes!


Supports all installed

Adding shelves

Winter decor is up, daughter made the bowl and house in high school

Here's the materials list we used, all about $25.00 locally-

1/4 sheet of 1/4 " Birch plywood for shelves, cut in triangles
16' of 1" x 3" utility wood, he cut to 1/2" for 32' for the braces
25' quarter round for the top edge of the shelves, looks more finished
12' finish grade 1" x 3" for front edges
Nail gun nails, or use finish nails
Fine sandpaper for the edges, just to smooth a bit
You could have a big box store cut the squares for you, but then you'd have to cut the triangles another way. 

At this point the wood is bare, since I wanted to see the color in the lighting. It was also too cold outside to do any painting. I may do a white wash on the wood, or a light pine stain. Haven't decided yet. That corner can be dark, but there's a light "straw" color on the walls. All I'd need to do is tape it off and throw down a small tarp. I'll do a clear coat of nothing else to protect the wood. I really love the size, perfect for the space. I'll spackle a couple of holes, touch up and call it good. Thanks Dave!


Free Online Essentials Oils Class!
As a member of The Homestead Bloggers Network I can pass on a free class to you! If you’ve read some of my blog posts you know I have used essential oils with great results! They're affordable, easy to find and they store well. So why not give your medicine cabinet a makeover and start using essential oils? If you've been on the fence here’s your chance to learn about them from a Doctor and aromatherapist. Join the FREE online Essential Oils Master Class, with NO oils to buy. Use your own and learn some great tips on how to use them! If you're a novice this will point you in the right direction. You can Preregister Here- Essential Oils Master Class . If you take the class please let me know what you think?


Homemade Chicken w/Biscuits & Gravy-
What to make on a cold winters' night with leftover chicken and biscuits? Yup, chicken and biscuits with gravy! There's tons of recipes out there and here's what I did. Cubed up leftover roasted chicken breast (skin removed), sauteed about 3/4 cup each fresh carrots, celery, salt, pepper, Thyme and butter. Once cooked I added flour to make a roux, then chicken broth, cook until thickened. Add about 1 cup of frozen peas and chicken. Cook until nice and hot. Serve on top of a biscuit! Yummy! 

Apr 9, 2017

DIY Shelf with Hooks Progress, Homemade Beignets, Slow Decorating, Simple Tin Planter


DIY Shelf with Hooks Progress-
Dave spent some time last weekend building our new DIY shelf with hooks! He loved his new battery-powered nail gun, perfect for these kinds of projects. The unit has been sanded and puttied. Dave added the holes before painting. He also hid the screws for the wall under the hook brackets. Clever idea! If there's a small mistake you can fill the holes if you do it before painting. I've never liked painting then drilling anyway. I like to paint, then be done.  He used a 1" x 6" and a 1" x 8" poplar board, and crown molding. Unlike the design that inspired me we didn't add the 1/2 round on the top shelf on the front edge-

My inspiration

We did the width to match our mirror hanging above it (last weeks post). I chose three matte nickle heavy duty coat/hat hooks. I found Liberty brand at Home Depot, the "value pack" was $8.99 for three. I bought a fresh can of Rustomleum white satin spray paint. I'm shooting for painting outside next weekend, too cold today (low 50's). Dave thinks the whole project was about $25.00 using all new wood. It will be a good use of our space.

Outside work area last weekend, with thrifted table saw

Close up of hooks

Side view

My next request is for Dave was to build these floating shelves into our main back hall corner, another good use of space- 

DIY directions from 4men1lady.com

And spring has certainly sprung!

Lilacs

The fruit trees are loaded with blossoms, hoping for some great canning and eating this year!


Homemade Beignets-
I finally got around to making some Cafe Du Monde mix Beignets last weekend. The dough is super sticky-


It was hard to get the squares into the hot oil in a square. They were very light and fluffy, great texture!!! Next time I will put them on wax paper before transferring to the hot oil. I also read you can just do them as balls. Tasty either way!

Mix from Cost Plus


Slow Decorating-
I stumbled on a few posts about slow decorating the other day-  GeoffreyandGrace.com  and Theinspiredroom.net.  I got the basic premise, buy/make things slowly that you love. Take your time, be thoughtful. I've always been a big proponent of negative space as well. Give your eyes something empty to rest on. I appreciate this more as I'm older. When I see a post of a room filled with every square inch of too much stuff it gives me claustrophobia!  Anyway interesting trend and a good one I think. My shelf above is a good example, things collected slowly over time.


Simple Tin Planter-
I've always loved Katie Brown's shows! She's been on PBS and network channels as well over the years. I stumbled on her episode last night with this project- Katiebrown.com  Perfect timing, right before planting season. Personally I would skip the tacks and use construction adhesive, liquid nails, etc., but that's me. They will rust over time and look very rustic, great idea!